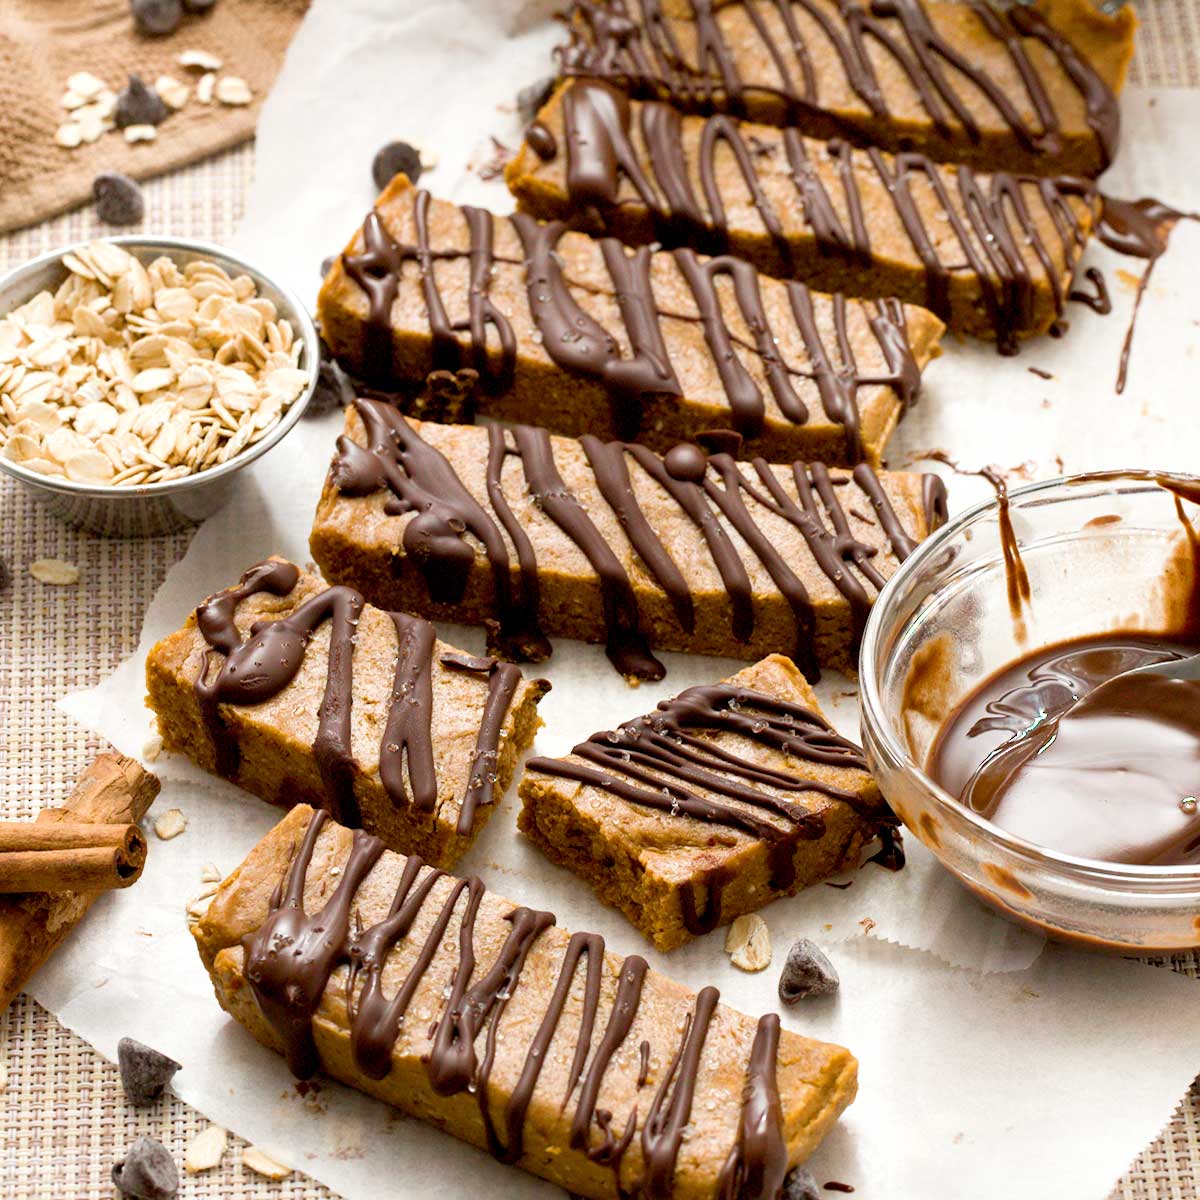
Peanut Butter Chocolate Protein Bars (No-Bake, Gluten-Free)
|
These no-bake peanut butter chocolate protein bars are made without artificial ingredients or sweeteners and taste like a healthier Reese’s-style treat. They’re soft but firm, never chalky, and easy to batch prep for snacks, workouts, or dessert.

These no-bake peanut butter chocolate protein bars are made with oat flour, natural peanut butter, protein powder, and maple syrup to create a high-protein bar that sets in the fridge without baking. A balanced ratio of protein, fat, and binders keeps the bars soft and sliceable instead of dry or crumbly.
What sets this recipe apart is the texture control. Peanut butter bars are notorious for turning either rock hard or too soft to hold their shape. This version uses oat flour, yogurt, and just enough nut butter to create a bar that stays chewy and stable without becoming oily or chalky.
What I love most about these bars is how much they feel like a treat without the digestive fallout. Peanut butter protein bars from the store used to leave me bloated or uncomfortable because of artificial sweeteners and heavy fibers. After a lot of testing, this version became my go-to for something chocolatey, satisfying, and easy on my stomach.
Why This Peanut Butter Chocolate Protein Bar Works
- Balanced peanut butter ratio: Enough natural peanut butter for flavor without making the bars greasy or soft.
- Oat flour binder: Absorbs excess oil and moisture so the bars hold together cleanly.
- Protein balance: Calibrated to avoid the chalky, brick-like texture common in peanut butter bars.
- Dessert-style flavor: Chocolate and peanut butter stay front and center instead of tasting earthy or protein-heavy.
- Cold-set structure: Designed to firm up in the fridge without cracking or crumbling.

Ingredients & Substitutions
Here is everything you need to make the best peanut butter and chocolate protein bars:
- Natural Peanut Butter: This is the base of the bars and provides most of the flavor. Use well-stirred natural peanut butter. Almond butter or cashew butter work, but the flavor will be milder. Sunflower butter works for nut-free, though the taste is slightly earthier.
- Oat Flour: Helps absorb oil and keeps the bars firm without drying them out. You can replace the 1/3 cup oat flour with 2/3 cup almond flour, but the bars will be softer and slightly more oily.
- Protein Powder: Adds structure and protein. I’ve tested whey isolate and plant-based blends. Whey creates a firmer bar, while plant-based protein absorbs more moisture and may need extra yogurt. You can leave out the protein powder and replace it with an additional 1/3 cup of oat flour and 1 tablespoon of maple syrup. Then, add a little more oat flour or greek yogurt if needed to get the same consistency as in the video and photos.
- Maple Syrup: Sweetens and binds the mixture. Honey works, but maple syrup keeps the flavor clean. Sugar-free syrups don’t bind well and can cause the bars to crumble.
- Ground Flaxseed: Helps the bars hold together and adds fiber. Chia seeds work, but the texture will be slightly more gel-like.
- Greek Yogurt: Keeps the bars soft and prevents them from turning dry in the fridge. Dairy-free yogurt works well with similar results.
- Coconut Oil: Helps the bars set and gives a smoother bite. Melted cocoa butter works similarly.
- Vanilla Extract: Rounds out the peanut butter and chocolate flavor.
- Sea Salt: Balances the sweetness and enhances the peanut butter.
- Chocolate Chips: Used for topping and drizzle. Dark chocolate gives the best contrast with peanut butter.
- Chopped Peanuts: Optional, but they add crunch and reinforce the peanut butter flavor.
Easily Adapt This Recipe for Any Diet
This recipe is easy to adjust without changing the overall texture when you stick to the swaps below.
- Gluten-Free: Use certified gluten-free oat flour and double-check your protein powder and chocolate chips.
- Dairy-Free: Use dairy-free yogurt and a plant-based protein powder.
- Vegan: Use plant-based protein powder, dairy-free yogurt, and maple syrup as written. The bars may be slightly softer but still slice well once chilled.
💡 Tip: If you find a swap that works especially well, leave a comment so others can learn from it too.

How to Make Peanut Butter Chocolate Protein Bars
Here are easy, detailed, step-by-step instructions for making my easy protein snacks. The instructions are also repeated in the recipe card at the bottom of this blog post.
Step 1: Mix the dough
Add 1/3 cup natural peanut butter, 1/3 cup oat flour, 1/2 cup protein powder, 2 tablespoons maple syrup, 2 tablespoons ground flaxseed, 3 tablespoons Greek yogurt, 1 tablespoon melted coconut oil, 1 teaspoon vanilla extract, and 1/4 teaspoon sea salt to a food processor or mixing bowl. Mix until a thick, uniform dough forms.
Check the texture by rolling a small amount of dough into a ball. It should hold together without sticking to your fingers. Add a spoonful of yogurt if dry, or a light sprinkle of oat flour if sticky.


Step 2: Press and chill
Line a small loaf pan or square pan with parchment paper. Press the dough firmly and evenly into the pan. Sprinkle chopped peanuts and mini chocolate chips on top and gently press them in. Freeze for about 15 minutes, until firm enough to slice.


Step 3: Melt the chocolate chips
Add 1/4 cup chocolate chips and 1 teaspoon coconut oil to a microwave-safe bowl. Microwave in short intervals, stirring between, until smooth. The added oil keeps the chocolate soft, so it doesn’t crack when sliced, especially when drizzled over cold bars.
Step 4: Drizzle and set
Slice the chilled bars and drizzle the melted chocolate over the top. Return to the fridge or freezer until set, then enjoy.


My Expert Recipe Tips
- Use softened chocolate: Adding coconut oil to the melted chocolate prevents cracking and squishing when slicing.
- Stir peanut butter well: Natural peanut butter must be fully mixed or the bars can turn oily or uneven.
- Go by texture, not looks: Peanut butter bars are unforgiving. Adjust the dough before chilling so it holds together cleanly.
- Soften before eating: If frozen, let the bars sit out for a few minutes for the best texture.
Delicious Serving Suggestions
- After-dinner treat when you want something sweet.
- Post-workout snack with a dessert feel.
- Afternoon sweet tooth fix instead of packaged candy.
- Grab-and-go snack straight from the fridge.
- Frozen treat for a chewy, candy bar-style bite.
Frequently Asked Questions
Do you love protein bars? Check out more of my homemade no-bake protein bar recipes:
- Chocolate Brownie Protein Bars (No-Bake, Gluten-Free)
- Chocolate Mint Protein Bars (No-Bake, Gluten-Free)
- Chocolate Pumpkin Protein Bars (No-Bake, Gluten-Free)
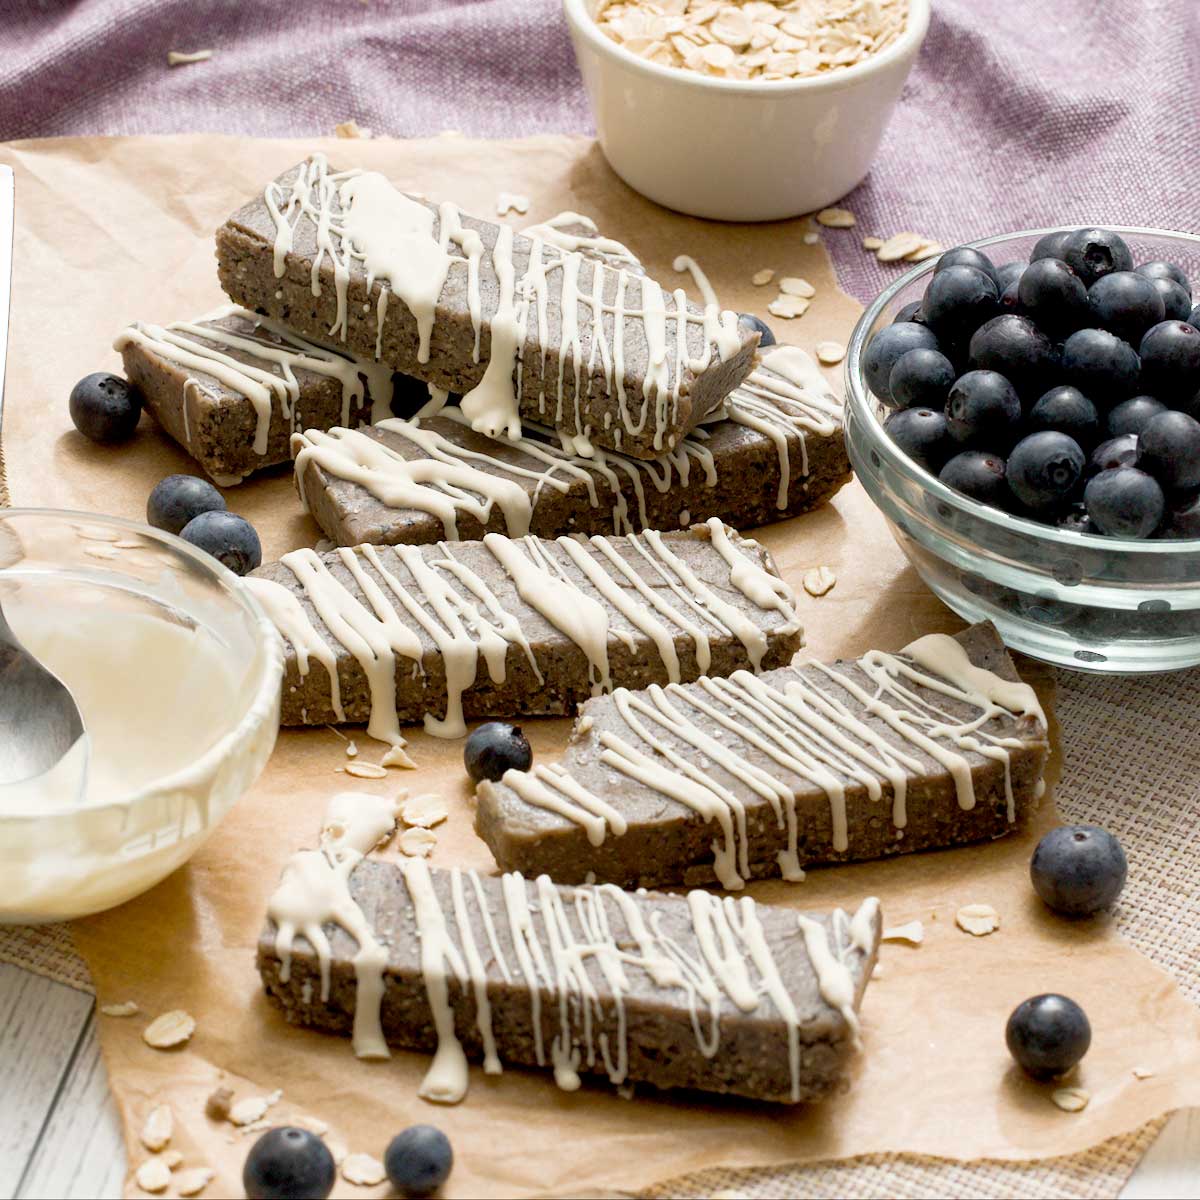
- Blueberry Protein Bars (No-Bake, Gluten-Free)
- Birthday Cake Protein Bars (No-Bake, Gluten-Free)
- Fresh Lemon Protein Bars (No-Bake, Gluten-Free)

Peanut Butter Chocolate Protein Bars (No-Bake, Gluten-Free)
Gluten-FreeIngredients
- 1/3 cup peanut butter
- 1/3 cup oat flour
- 1/2 cup vanilla protein powder
- 2 tablespoons maple syrup
- 2 tablespoons ground flaxseed
- 1/4 cup greek yogurt
- 1 tablespoon coconut oil
- 1 teaspoon vanilla extract
- 1/4 teaspoon salt
- 1/4 cup dark chocolate chips (Hu Gems are my fave)
- 1 tablespoon mini chocolate chips
- 2 tablespoons peanuts
Instructions
- Add 1/3 cup natural peanut butter, 1/3 cup oat flour, 1/2 cup protein powder, 2 tablespoons maple syrup, 2 tablespoons ground flaxseed, 3 tablespoons Greek yogurt, 1 tablespoon melted coconut oil, 1 teaspoon vanilla extract, and 1/4 teaspoon sea salt to a food processor or mixing bowl. Mix until a thick, uniform dough forms.Check the texture by rolling a small amount of dough into a ball. It should hold together without sticking to your fingers. Add a spoonful of yogurt if dry, or a light sprinkle of oat flour if sticky.
- Line a small loaf pan or square pan with parchment paper. Press the dough firmly and evenly into the pan. Sprinkle chopped peanuts and mini chocolate chips on top and gently press them in. Freeze for about 15 minutes, until firm enough to slice.
- Add 1/4 cup chocolate chips and 1 teaspoon coconut oil to a microwave-safe bowl. Microwave in short intervals, stirring between, until smooth. The added oil keeps the chocolate soft so it doesn’t crack when sliced.
- Slice the chilled bars and drizzle the melted chocolate over the top. Return to the fridge or freezer until set, then enjoy.
Video
Notes
Nutrition
Important Disclaimer
This recipe is created by a home cook and not a medical professional. Our ingredient philosophy is reviewed by RDNs, but this specific post is not personalized medical advice. Please consult your healthcare provider for dietary concerns.
Looking for more desserts made without refined sugar?
Browse all of my naturally sweetened dessert recipes, made with maple syrup, honey, fruit, and other simple sweeteners for treats that feel familiar and satisfying.

Wow discussion here, I enjoyed reading the points you made.
I’ve been searching for reliable prediksi togel tips lately, and this
community shares good info. It’s helpful for players to
follow reliable insights. Thanks again for providing useful
info like this.
What works well as an oat flour substitute? Thanks!
You can use double the amount of almond flour.
Dear Nicole, these protein bars are absolutely the best tasty snack /treat we have tasted . I love all four flavours, they are so good . They are super easy to make and they taste great straight from the freezer and they are so satisfying , they fill that little gap until mealtimes 😂🤗I will never stop making them , there an absolute pleasure to make and eat . Thanks Nicole XX
Thank you for the review, Susan!! 🙂
My kids LOVE these, thanks for sharing! 🩷
You’re welcome, Trinity!
These are very easy to make
yes, these are amazing!! Perfect for after i get home from the gym
I love peanut butter!
These are delicious!! I doubled the recipe and put a few in my kids’ lunches. Mom for the win 🙂
My family can’t get enough of these bars since I started making them! I hope you enjoy them, too 🙂