Lemon Protein Bars (No-Bake, Gluten-Free)
|
These Fresh Lemon Protein Bars deliver bright, zesty flavor with clean ingredients like oat flour, cashew butter, and real lemon zest. Perfect as a no-bake workout snack, these protein-packed bites feature a white chocolate drizzle and take just 10 minutes to prep. Store in your freezer for a pre or post-exercise energy boost!

These no-bake lemon protein bars are made with oat flour, cashew butter, vanilla protein powder, and real lemon zest to create a soft, chewy protein bar that sets in the fridge without baking. The balance of moisture, fat, and protein keeps them sliceable and tender instead of dry or crumbly.
What sets this recipe apart is the real lemon flavor. Fresh lemon zest and juice give these bars a clean, bright taste that doesn’t fade or turn bitter after chilling. Cashew butter keeps the base creamy and neutral so the lemon stays front and center instead of getting lost behind protein powder.
What I love most about these bars is how light they feel. They’re refreshing instead of heavy, which makes them perfect before or after workouts, or when chocolate just doesn’t sound good. They taste like a treat, but they’re gentle on digestion and easy to keep stocked in the fridge or freezer.
Why This Lemon Protein Bar Works
- The lemon stays bright: Fresh zest keeps the flavor clean and bold instead of dull or bitter after chilling.
- Cashew butter keeps it light: I tested other nut butters, and this is the one that doesn’t weigh the lemon down.
- Oat flour balances the moisture: Lemon adds liquid fast. Oat flour absorbs just enough so the bars stay soft, not soggy.
- The protein is dialed in: Too much made them dry. This ratio keeps them structured but still tender.

Ingredients & Substitutions
Here is everything you need to make protein lemon bars:
- Cashew Butter: This keeps the flavor mild and gives the most “cake batter” vibe. Almond butter works, but the flavor is slightly nuttier. Peanut butter will overpower the birthday cake flavor.
- Oat Flour: This helps the bars hold together while staying chewy. You can replace the 1/3 cup oat flour with 2/3 cup almond flour, but the bars will be softer and more delicate.
- Vanilla Protein Powder: Adds structure and protein. I’ve tested whey isolate and plant-based blends. Whey creates a firmer bar, while plant-based protein absorbs more moisture and may need extra yogurt. You can leave out the protein powder and replace it with an additional 1/3 cup of oat flour and 1 tablespoon of maple syrup. Then, add a little more oat flour or maple syrup if needed to get the same consistency as in the video and photos.
- Maple Syrup: Sweetens and binds the dough. Honey works too, but maple syrup keeps the flavor clean. Sugar-free syrups don’t bind well in no-bake bars.
- Ground Flaxseed: Helps the bars hold together without affecting flavor. Chia works but gives a slightly gel-like texture.
- Fresh Lemon Juice: Fresh matters here. Bottled juice tastes flat and doesn’t give the same brightness.
- Lemon Zest: Don’t skip this. Zest is where the real lemon flavor comes from.
- Coconut Oil: Helps the bars set once chilled. Refined coconut oil or a little extra cashew butter both work.
- Vanilla Extract: Rounds out the lemon so it doesn’t taste sharp.
- Sea Salt: A pinch makes the lemon pop.
- White Chocolate Chips: Optional, but they add a nice contrast to the tart lemon.
Easily Adapt This Recipe for Any Diet
This recipe is naturally easy to tweak! Follow these simple swaps to make it gluten-free, dairy-free, or vegan while keeping the same great texture and flavor.
- Gluten-Free: The recipe is naturally gluten-free if you use certified gluten-free oat flour and protein powder.
- Dairy-Free: Choose a plant-based protein powder and dairy-free white chocolate chips for the drizzle.
- Vegan: Use plant-based protein powder, agave or maple syrup instead of honey, and vegan white chocolate chips for the drizzle.
💡 Pro Tip: If you try a substitution, let us know how it worked in the comments!

How to Make My Lemon Protein Bars
Here are easy, detailed, step-by-step instructions that are also repeated in the recipe card at the bottom of this blog post.
Step 1: Make the Dough
Juice and zest one lemon, measuring out 2 tablespoons of juice and 1 tablespoon of zest. Add all ingredients to a food processor including 1/2 cup oat flour, 1/2 cup vanilla protein powder, 1/3 cup cashew butter, 1/4 cup maple syrup, 2 tablespoons ground flax seed, 1 tablespoon coconut oil, 1 teaspoon vanilla extract, and 1/4 teaspoon salt. Pulse until well blended and the dough forms a ball.
Check the texture by rolling a small amount of dough into a ball. It should hold together without sticking to your fingers. Add a spoonful of yogurt if dry, or a light sprinkle of oat flour if sticky.


Step 2: Press and Chill
Line a standard bread pan with parchment paper, leaving some overhang for easy removal. Transfer the mixture to the pan and press firmly to create an even layer. Place in the freezer for about 10 minutes to firm up before adding the topping.

Step 3: Add White Chocolate Drizzle and Set
In a microwave-safe bowl, combine 2 tablespoons white chocolate chips with 1 teaspoon coconut oil. Microwave in 25-second increments, stirring between each, until completely melted and smooth.
Lift the bars out using the parchment paper overhang and cut into 6 bars. Drizzle over the chilled bars. Store in the refrigerator until ready to enjoy.


Expert Recipe Tips
- Use fresh lemon: The oils in fresh lemon zest make these bars incredibly flavorful, so avoid using only bottled juice if possible.
- Don’t overprocess: Stop pulsing the food processor once the dough forms a ball to maintain the best texture.
- Line your pan properly: Use parchment paper with overhang on the sides for easy removal and clean cuts.
- Chill before cutting: For the cleanest cuts, make sure the bars are fully chilled or even slightly frozen.
- Adjust sweetness to taste: If your protein powder is already sweet, you might want to reduce the maple syrup slightly.
Delicious Serving Suggestions
- Pair with fresh berries: I like to serve these with a handful of blueberries or raspberries. You’ll love how the additional fruity flavors complement the lemon.
- Wrap individually for grab-and-go snacks: These make perfect pre-portioned workout fuel. I wrap each bar in parchment paper and store in a container in the freezer for easy access.
- Crumble over yogurt: Try breaking up a bar over some Greek yogurt with a drizzle of honey. You’ll love this protein-packed breakfast or snack option that provides multiple textures.
- Serve with herbal tea: The lemon flavor pairs beautifully with a cup of chamomile or mint tea. This combination makes a light, refreshing afternoon pick-me-up.
Frequently Asked Questions
Do you love protein bars? Check out more of my homemade no-bake protein bar recipes:
- Chocolate Mint Protein Bars (No-Bake, Gluten-Free)
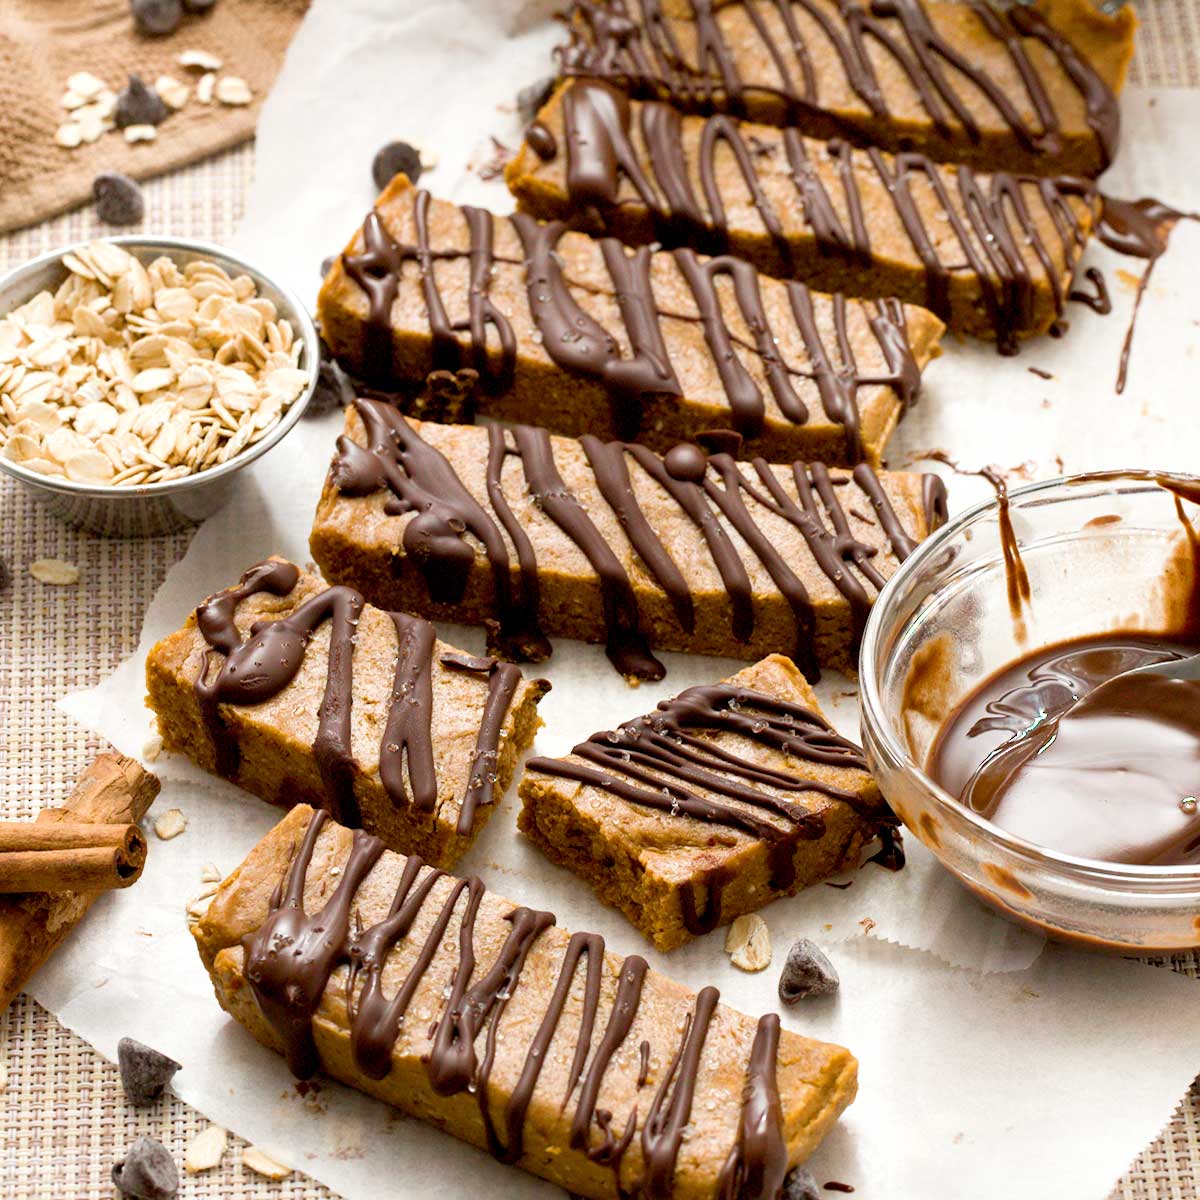
- Chocolate Pumpkin Protein Bars (No-Bake, Gluten-Free)
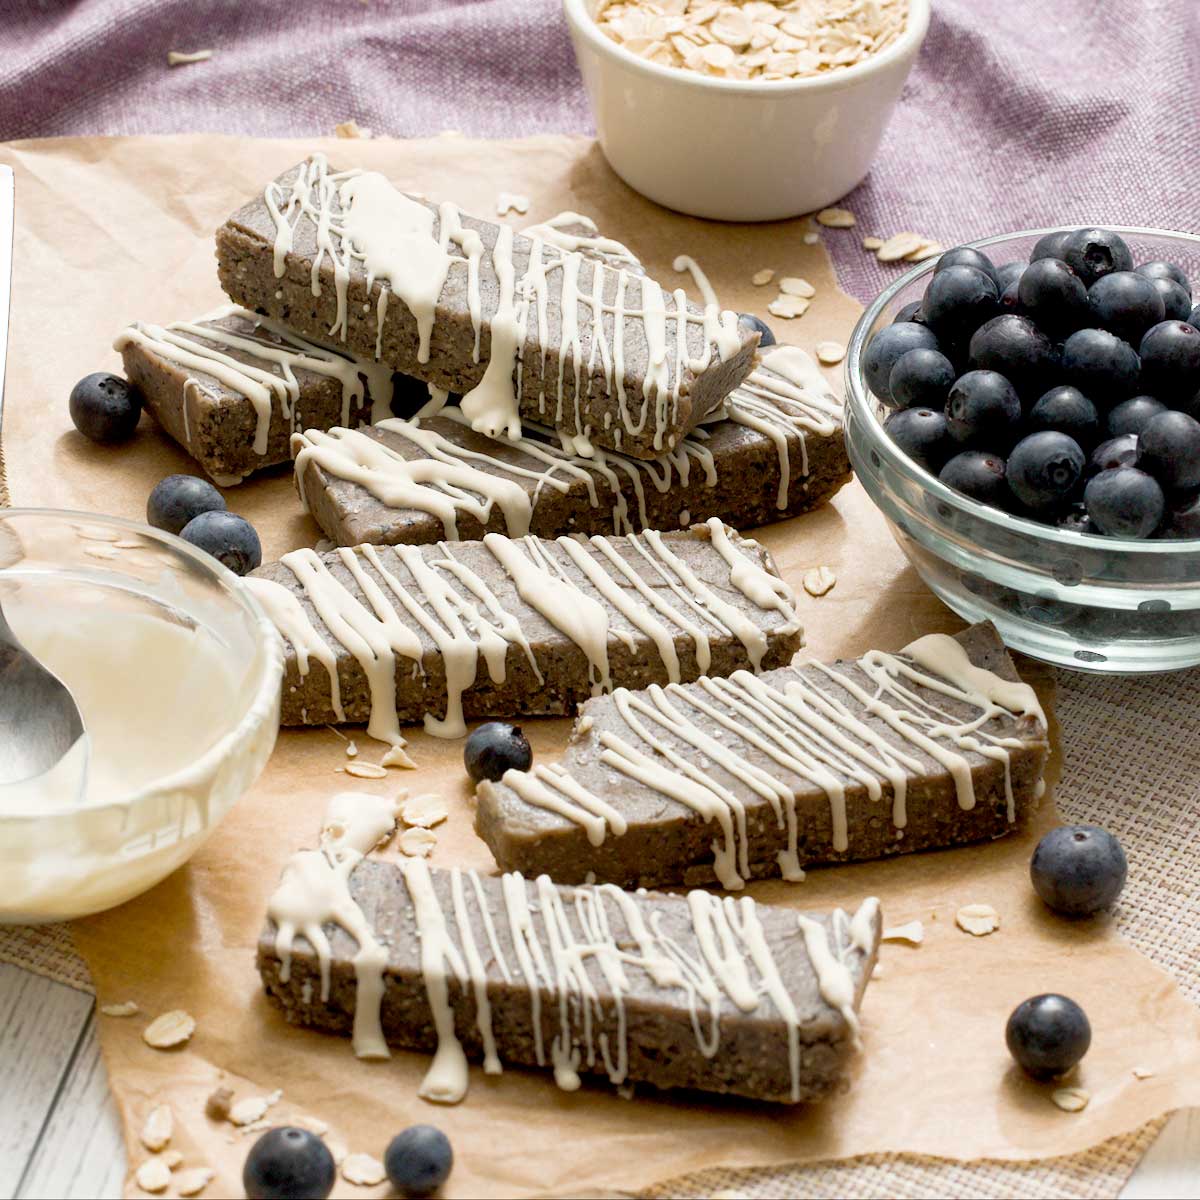
- Blueberry Protein Bars (No-Bake, Gluten-Free)
- Birthday Cake Protein Bars (No-Bake, Gluten-Free)
- Peanut Butter Chocolate Protein Bars (No-Bake, Gluten-Free)
- Chocolate Brownie Protein Bars (No-Bake, Gluten-Free)

Lemon Protein Bars (No-Bake, Gluten-Free)
Dairy-Free | Gluten-FreeIngredients
- 1/2 cup oat flour
- 1/2 cup vanilla protein powder
- 1/3 cup cashew butter
- 1/4 cup maple syrup
- 2 tablespoons ground flax seed
- 2 tablespoons lemon juice
- 1 tablespoon lemon zest
- 1 tablespoon coconut oil
- 1 teaspoon vanilla extract
- 1/4 teaspoon salt
White Chocolate Drizzle:
- 2 tablespoons white chocolate chips
- 1 teaspoon coconut oil
Instructions
- Juice and zest one lemon, measuring out 2 tablespoons of juice and 1 tablespoon of zest. Add all ingredients to a food processor including 1/2 cup oat flour, 1/2 cup vanilla protein powder, 1/3 cup cashew butter, 1/4 cup maple syrup, 2 tablespoons ground flax seed, 1 tablespoon coconut oil, 1 teaspoon vanilla extract, and 1/4 teaspoon salt. Pulse until well blended and the dough forms a ball. Check the texture by rolling a small amount of dough into a ball. It should hold together without sticking to your fingers. Add a spoonful of yogurt if dry, or a light sprinkle of oat flour if sticky.
- Line a standard bread pan with parchment paper, leaving some overhang for easy removal. Transfer the mixture to the pan and press firmly to create an even layer. Place in the freezer for about 10 minutes to firm up before adding the topping.
- In a microwave-safe bowl, combine 2 tablespoons white chocolate chips with 1 teaspoon coconut oil. Microwave in 25-second increments, stirring between each, until completely melted and smooth.
- Lift the bars out using the parchment paper overhang and cut into 6 bars. Drizzle over the chilled bars. Store in the refrigerator until ready to enjoy.
Video
Notes
Nutrition
Important Disclaimer
This recipe is created by a home cook and not a medical professional. Our ingredient philosophy is reviewed by RDNs, but this specific post is not personalized medical advice. Please consult your healthcare provider for dietary concerns.

Love these! Thank you so much for the recipe! One concern, though: oat flour, like wheat flour, needs to be cooked to minimize E. coli, salmonella, etc. Is there something about this recipe that makes it safe without baking? Thanks, Stacy
Hi Stacy! I’m so glad you enjoyed them—thanks for making the recipe 😊
This is a really common question. Oats are different from wheat flour. Rolled oats and oat flour are typically made from steamed oats, which means they’re already heat-treated before being ground. Because of that, oat flour doesn’t carry the same raw-flour safety concern as uncooked wheat flour.
That said, if anyone prefers extra peace of mind, you can absolutely toast oat flour or oats briefly in the oven before using them, or use certified heat-treated oat flour. I always want people to feel comfortable with the ingredients they’re using.
Thanks again for bringing this up and for trying the recipe!
I mixed in some dried blueberries before pressing into pan. For drizzling on top, I used melted coconut butter with some lemon zest in it. Very yummy. Note: if you like lemon, don’t be skimpy with the zest in bars.
Hi Tari, thank you for the review and your suggestions!
These were surprisingly quick to make, they are creamy and lemony, perfect afternoon snack
Thanks, Jess! I’m so glad you loved them 🙂
These were really easy to make and the lemon isn’t too strong! The white chocolate on top is a nice touch.
Hi Wendy, I’m so glad you love them 🙂
Is the nutrition facts at the bottom of the recipe for the pan of these or just 1 single bar. They are delicious!!!!
Hi Kathy, I’m so glad you enjoy them 🙂 The Nutrition Facts are for 1 bar or 1/6 of the recipe.
Dear Nicole, just wanted to let you know I made these lemon bars and they are so good . The lemon flavour is so refreshing, I think a drizzle of dark chocolate would be nice also but hey, the white chocolate was delicious 🤤 I absolutely love all your protein bars they are yummy , we love them all , can’t choose 😀 can’t stop making them they are always in my freezer 🤤🤤🥰 XX 🇬🇧
Susan, you are the best!!! Thank you for sharing with me 🙂
Dear Nicole, just wanted to let you know I made these lemon bars and they are so good . The lemon flavour is so refreshing, I think a drizzle of dark chocolate would be nice also but hey, the white chocolate was delicious 🤤 I absolutely loved all your protein bars they are yummy , we love them all , can’t choose 😀 can’t stop making them they are always in my freezer 🤤🤤🥰 XX 🇬🇧
Thank you, Susan!! I love your idea of a dark chocolate drizzle, too 🙂
These taste even better than the lemon lara bars I’ve been eating for years. the amount of lemon is perfect!! I’ll be making these a lot!
Thank you for the review, Tina! I’m so glad you enjoyed them 🙂
I made these for my girlfriend and she loved them!!! Taste even better than the RX bars.
Thank you for the review, Gavin! 🙂
These lemon bars are so yummy and easy to make!! I hope you enjoy them 🙂