Chocolate Brownie Protein Bars (No-Bake, Gluten-Free)
|
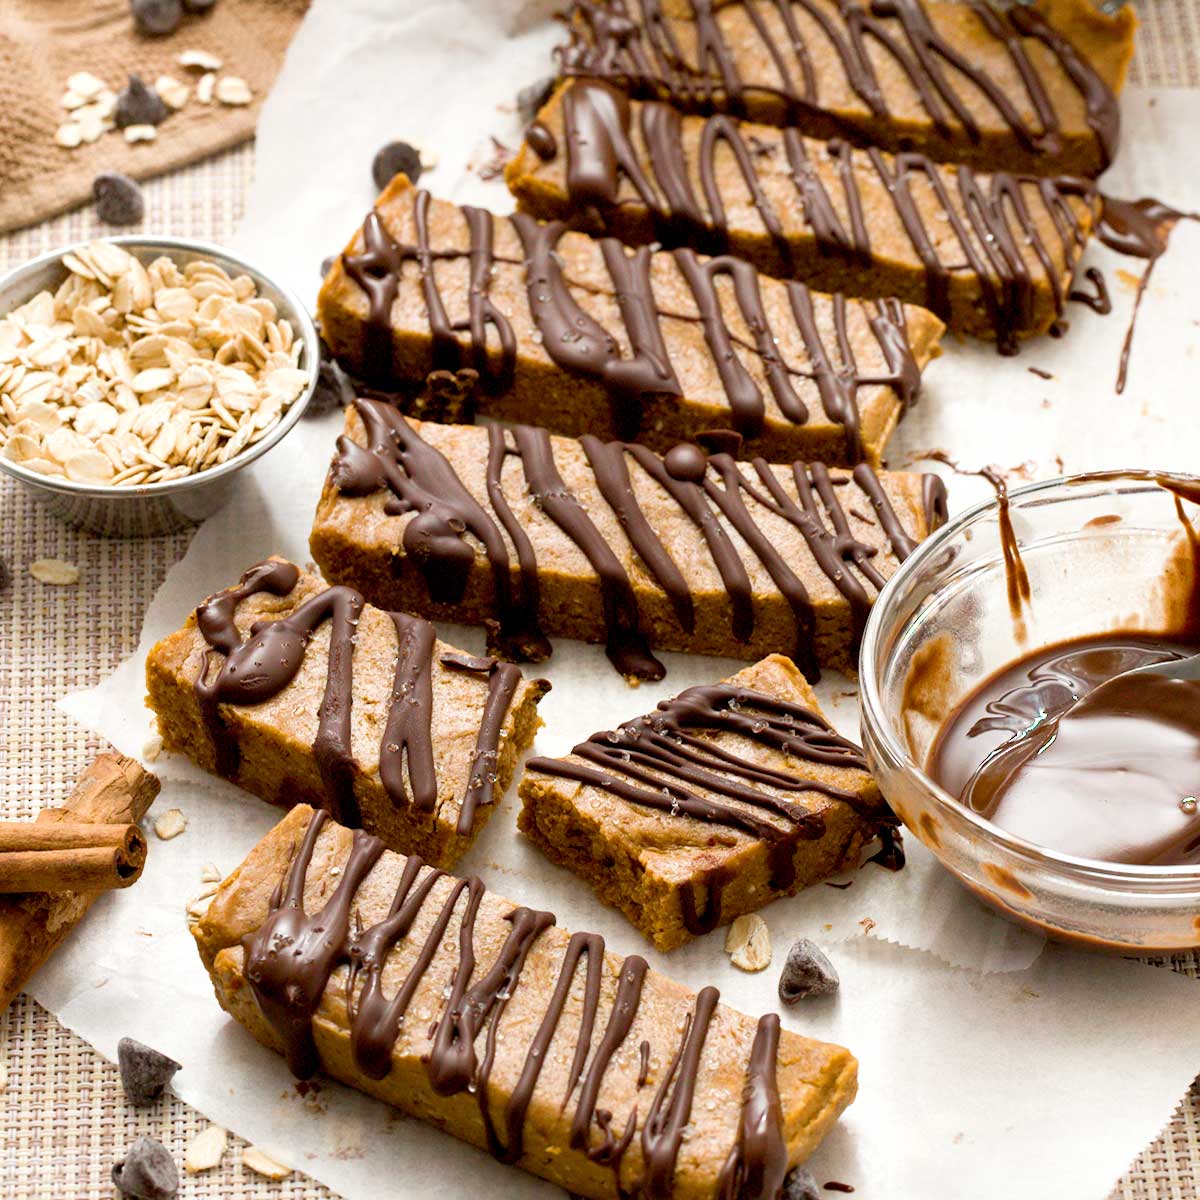
These no-bake chocolate brownie protein bars are made without artificial ingredients or sweeteners and have tons of real chocolate flavor. They’re soft but firm, never chalky, and easy to batch prep for workouts, snacks, or a healthier dessert.

These no-bake chocolate brownie protein bars are made with oat flour, almond butter, chocolate protein powder, and maple syrup to create a high-protein snack that stays soft and fudgy without baking. The recipe uses a balanced ratio of protein, fat, and binders so the bars hold together without drying out or becoming rubbery over time.
What sets this recipe apart is the soft but firm texture and rich flavor. Many protein bars turn rock hard after a day or two in the fridge, but these stay chewy thanks to a combination of oat flour, yogurt, and nut butter instead of dates or syrups alone. The simple ingredients give them real brownie flavor without that sticky energy bar texture.
What I love most about these bars is how gentle they are on my digestion. I was fed up with the gas and bloating I felt after eating commercial protein bars made with artificial sweeteners. After a lot of testing, I landed on this version. It tastes like a treat, is easy to batch prep, and works just as well for workouts as it does for an everyday snack or healthier dessert.
Why This Chocolate Brownie Protein Bar Works
- Balanced protein ratio: Enough protein for structure without drying the bars out.
- No-bake texture control: Oat flour and yogurt keep the bars soft instead of crumbly or sticky.
- Nut butter fat: Almond butter adds richness and prevents a chalky mouthfeel.
- Chocolate-forward flavor: Cocoa powder, chocolate protein powder, and chocolate chips mask any protein aftertaste.
- Cold-set stability: Designed to firm up in the fridge or freezer without baking.

Ingredients & Substitutions
Here is everything you need to make the best homemade protein bars:
- Almond Butter: This is my go-to because it keeps the bars creamy and soft without overpowering the chocolate. Cashew butter works similarly. Peanut butter adds a stronger flavor. Sunflower butter is a good nut-free option but will taste slightly earthier.
- Oat Flour: This is what makes these bars hold together while staying chewy instead of dense. You can replace the 1/3 cup of oat flour with 2/3 cup of almond flour if you prefer. Almond flour is less absorbent, so the texture will be slightly softer and a little different.
- Chocolate Protein Powder: This adds protein and most of the chocolate flavor. I’ve tested whey isolate, pea protein, and milk protein isolate. All work, but they absorb moisture differently, so the dough may feel slightly thicker or softer depending on the brand. This is my favorite organic chocolate protein powder that tastes delicious! You can leave out the protein powder and replace it with an additional 1/3 cup of oat flour, 2 tablespoons of cocoa powder, and 1 tablespoon of maple syrup. Then, add a little more oat flour or greek yogurt if needed to get the same consistency as in the video and photos.
- Maple Syrup: This sweetens the bars and helps everything bind. Honey or agave syrup work too, but maple syrup gives the cleanest flavor without being sticky.
- Ground Flaxseed: This helps the bars hold their shape and adds fiber. Chia seeds or tapioca starch can be used if that’s what you have.
- Greek Yogurt: This keeps the bars soft and fudgy instead of dry. Dairy-free yogurt works well. Mashed Medjool dates can be used, but the bars will be stickier.
- Coconut Oil: A small amount adds richness and helps the bars set without turning hard. Melted cocoa butter or sunflower oil also work.
- Cocoa Powder: This deepens the chocolate flavor and balances the sweetness. Any unsweetened cocoa powder works.
- Vanilla Extract: This rounds out the chocolate flavor and makes the bars taste more like a brownie.
- Sea Salt: A little salt makes a big difference and brings out the chocolate.
- Chocolate Chips: These give you melty chocolate pockets throughout the bars. Dark chocolate chips or chunks are my favorite.
- Mini Chocolate Chips: Optional, but they add extra brownie texture and make the bars feel more like dessert.
Easily Adapt This Recipe for Any Diet
This recipe is easy to adjust without changing the texture or flavor when you stick to the swaps below.
- Gluten-Free: Use certified gluten-free oat flour and double-check your protein powder and chocolate chips. Oats are the most common source of hidden gluten, so I always check labels here.
- Dairy-Free: Use a dairy-free yogurt and a plant-based chocolate protein powder. Many almond or coconut-based yogurts work well and keep the bars just as soft.
- Vegan: Use a plant-based protein powder, dairy-free yogurt, and maple syrup as written. The bars may be slightly softer, but they still hold together well once chilled.
💡 Tip: If you try a swap that works especially well, leave a comment so others can learn from it too.

How to Make Chocolate Brownie Protein Bars
Here are easy, detailed, step-by-step instructions that are also repeated in the recipe card at the bottom of this blog post.
Step 1: Mix the dough
Add 1/3 cup almond butter, 1/3 cup oat flour, 1/2 cup chocolate protein powder, 2 tablespoons maple syrup, 2 tablespoons ground flaxseed, 3 tablespoons Greek yogurt, 1 tablespoon melted coconut oil, 1 tablespoon cocoa powder, 1 teaspoon vanilla extract, and 1/4 teaspoon sea salt to a food processor or mixing bowl. Mix until a thick, uniform dough forms.
Check the texture by pinching off a small amount of dough and roll it between your hands. If it feels dry or crumbly, mix in another spoonful of yogurt. If it sticks to your fingers add a light sprinkle of oat flour and mix again.


Step 2: Press and Chill
Line a small loaf pan or square pan with parchment paper. Press the dough firmly and evenly into the pan. Sprinkle 2 tablespoons mini chocolate chips on top and gently press them in. Place the pan in the freezer for about 15 minutes, or until firm enough to slice cleanly.


Step 3: Melt the Chocolate Chips
In a small bowl, add 1/4 cup chocolate chips and microwave in 25-second intervals, stirring in between, until smooth and melted.


Step 4: Drizzle the Chocolate
Lift the chilled dough out of the pan and slice into bars. Drizzle the melted chocolate over the top. Return the bars to the fridge or freezer until set and enjoy!


My Expert Recipe Tips
- Keep them cold: These bars are meant to be stored in the fridge or freezer since they contain yogurt. I don’t recommend leaving them out at room temperature for long.
- Adjust by feel: Protein powders vary, so I go by texture. The dough should hold together when rolled into a ball without sticking to your fingers. Add yogurt if dry. Add a sprinkle of oat flour if sticky.
- Expect them to firm up: The bars will feel soft at first and firm up as they chill. They should stay chewy, not hard. Let them sit out briefly if needed.
- Slice cleanly: Fully chill the bars and wipe the knife between cuts for clean edges.
Delicious Serving Suggestions
- Post-workout snack when you want protein without heaviness.
- Midday snack to hold you over between meals.
- Afternoon energy boost instead of a coffee or packaged bar.
- On-the-go breakfast paired with fruit.
- Healthier dessert when you want something chocolatey but satisfying.
Frequently Asked Questions
Do you love protein bars? Check out more of my homemade no-bake protein bar recipes:
- Chocolate Mint Protein Bars (No-Bake, Gluten-Free)
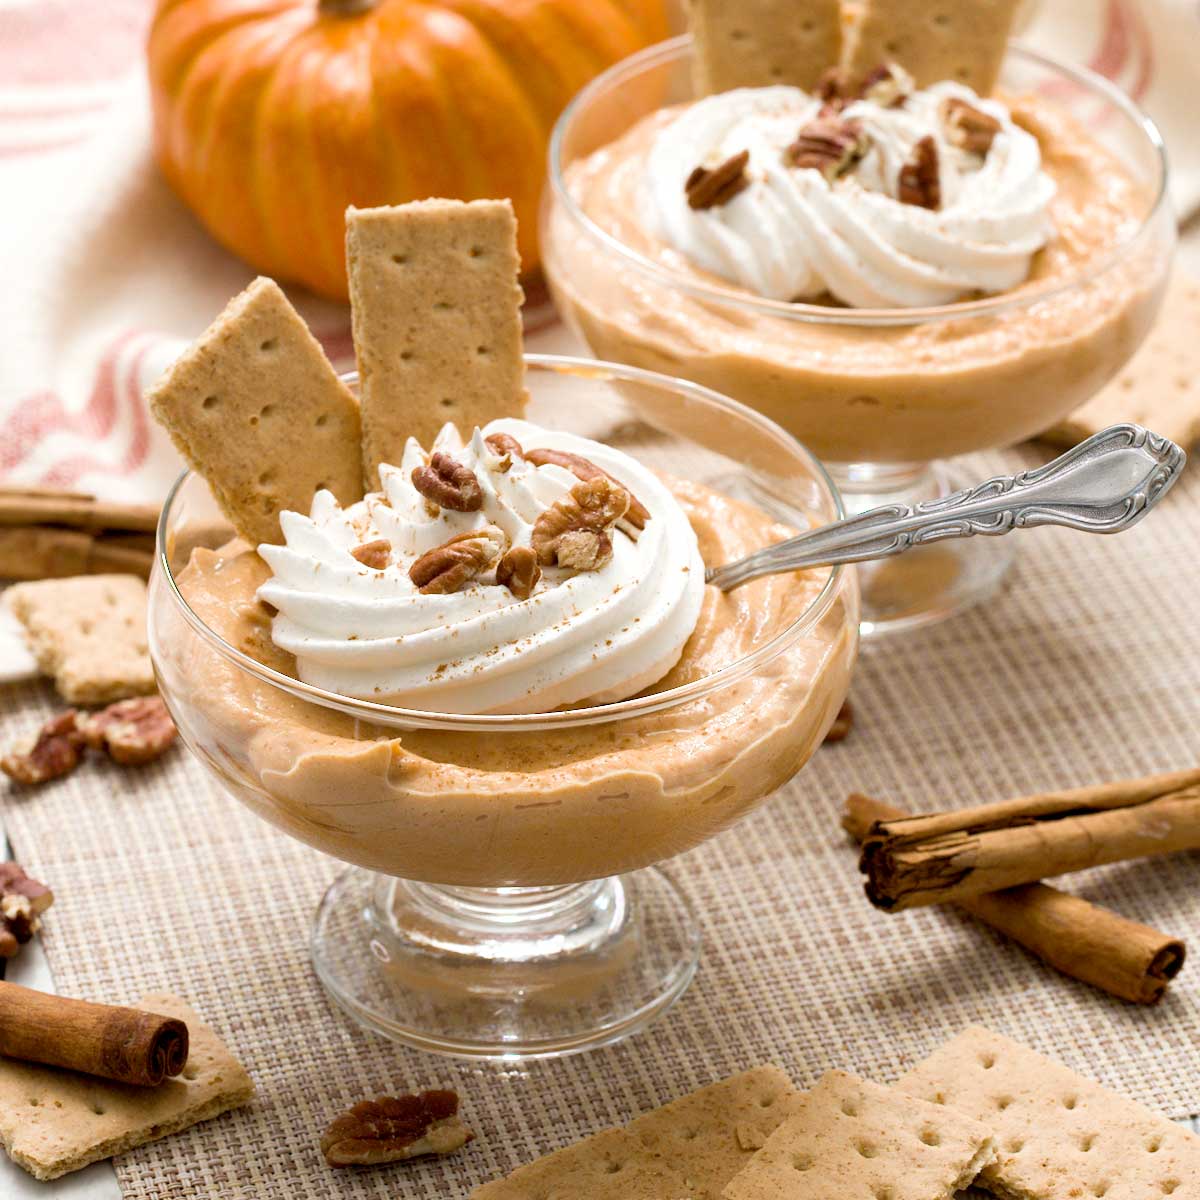
- Chocolate Pumpkin Protein Bars (No-Bake, Gluten-Free)
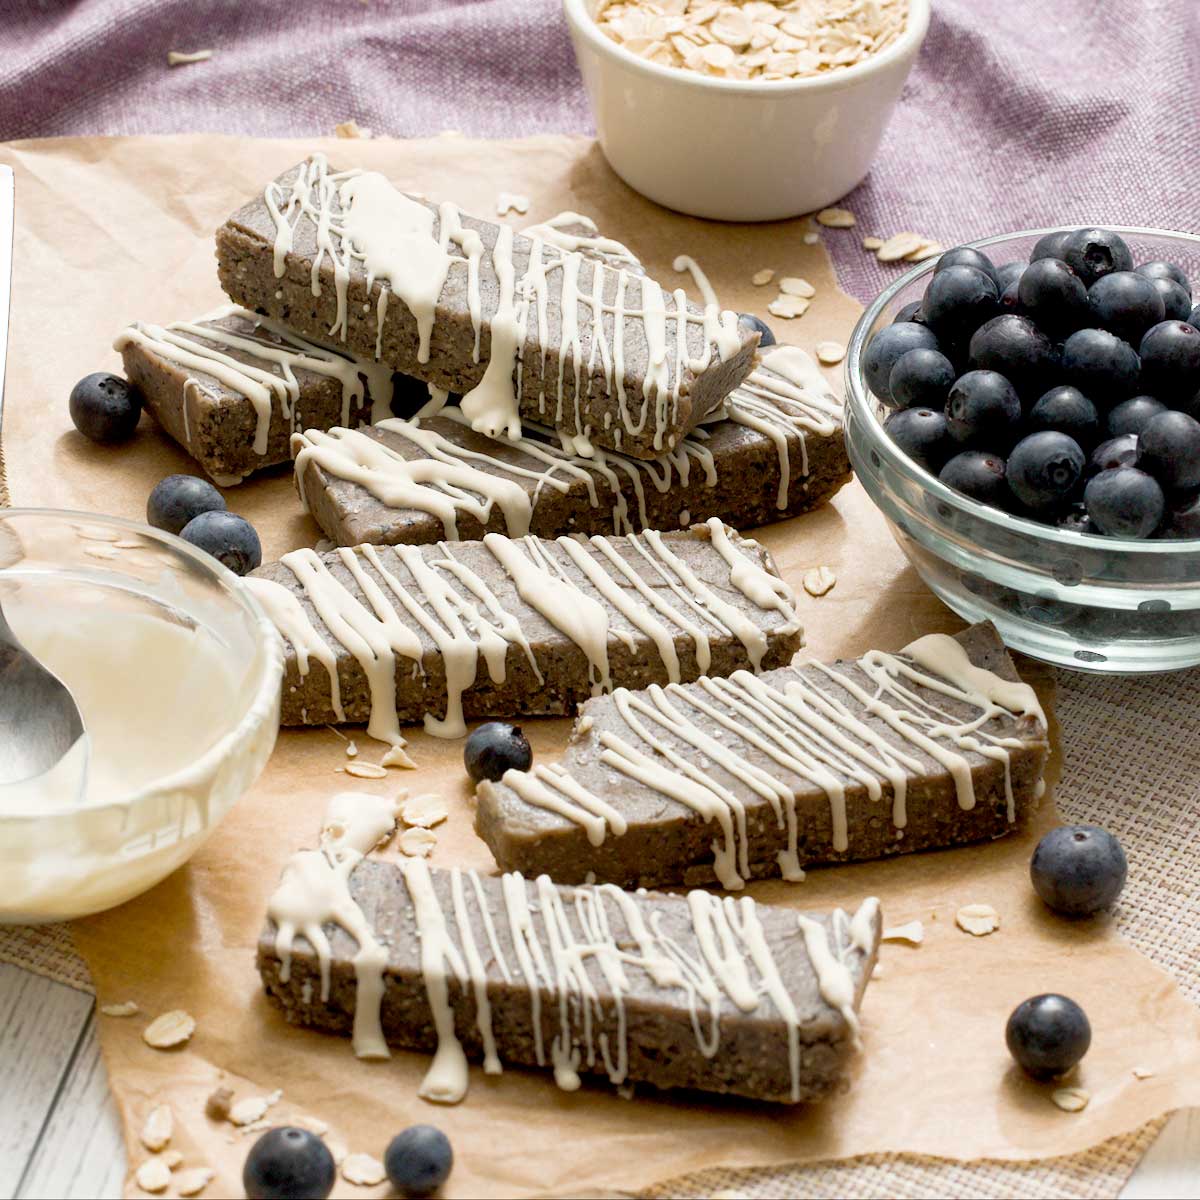
- Blueberry Protein Bars (No-Bake, Gluten-Free)
- Birthday Cake Protein Bars (No-Bake, Gluten-Free)
- Peanut Butter Chocolate Protein Bars (No-Bake, Gluten-Free)
- Fresh Lemon Protein Bars (No-Bake, Gluten-Free)
- Chocolate Brownie Protein Bars (No-Bake, Gluten-Free)

Chocolate Brownie Protein Bars (No-Bake, Gluten-Free)
Gluten-FreeIngredients
- 1/3 cup almond butter
- 1/3 cup oat flour
- 1/2 cup chocolate protein powder
- 2 tablespoons maple syrup
- 2 tablespoons ground flaxseed
- 3 tablespoons greek yogurt
- 1 tablespoon coconut oil
- 1 tablespoon cocoa powder
- 1 teaspoon vanilla extract
- 1/4 teaspoon salt
- 1/4 cup chocolate chips https://amzn.to/4gwnuHt
- 2 tablespoons mini chocolate chips
Instructions
- Add 1/3 cup almond butter, 1/3 cup oat flour, 1/2 cup chocolate protein powder, 2 tablespoons maple syrup, 2 tablespoons ground flaxseed, 3 tablespoons Greek yogurt, 1 tablespoon melted coconut oil, 1 tablespoon cocoa powder, 1 teaspoon vanilla extract, and 1/4 teaspoon sea salt to a food processor or mixing bowl. Mix until a thick, uniform dough forms.Check the texture by pinching off a small amount of dough and roll it between your hands. If it feels dry or crumbly, mix in another spoonful of yogurt. If it sticks to your fingers add a light sprinkle of oat flour and mix again.
- Line a small loaf pan or square pan with parchment paper. Press the dough firmly and evenly into the pan. Sprinkle 2 tablespoons mini chocolate chips on top and gently press them in. Place the pan in the freezer for about 15 minutes, or until firm enough to slice cleanly.
- In a small bowl, add 1/4 cup chocolate chips and microwave in 25-second intervals, stirring in between, until smooth and melted.
- Lift the chilled dough out of the pan and slice into bars. Drizzle the melted chocolate over the top. Return the bars to the fridge or freezer until set and enjoy!
Video
Notes
Nutrition
Important Disclaimer
This recipe is created by a home cook and not a medical professional. Our ingredient philosophy is reviewed by RDNs, but this specific post is not personalized medical advice. Please consult your healthcare provider for dietary concerns.
Looking for more desserts made without refined sugar?
Browse all of my naturally sweetened dessert recipes, made with maple syrup, honey, fruit, and other simple sweeteners for treats that feel familiar and satisfying.

Dear Nicole, these protein bars are absolutely the best tasty snack /treat we have tasted . I love all four flavours, they are so good . They are super easy to make and they taste great straight from the freezer and they are so satisfying , they fill that little gap until mealtimes 😂🤗I will never stop making them , there an absolute pleasure to make and eat . Thanks Nicole XX
I appreciate the review, Susan!! Thank you so much 🙂
These are simply amazing.
We made these and the mint ones and love them both!!
That’s awesome, Hilari! Thank you 🙂
Thank you for asking for clarification 🙂 The recipe card specifies 6 servings and the Nutrition Facts specify a serving size as 1 bar. 1 bar is 1/6 of the recipe 🙂 I hope this helps and that you enjoy making these!
I cant wait to try these! What can I sub for the protein powder if I dont have it? Can i add more oat flour? Thx!!
Hi Bindu, that’s an excellent question 🙂 I included substitutions in the Ingredients & Substitutions section in this post. Here is the response I included…You can leave out the protein powder and replace it with an additional 1/3 cup of oat flour, 2 tablespoons of cocoa powder, and 1 tablespoon of maple syrup. Then, add a little more oat flour or greek yogurt if needed to get the same consistency as in the video and photos.
I hope this helps. Please let me know how they turn out!
Thank you for sharing this recipe. Delicous!
I have been buying those expensive store bought protien bars, these taste better and are cheaper and better for you, thank you!
Thanks! This is the cleanest and best protein bar recipe I’ve found, awesome!
Thank you, Ray! I hope you enjoy making them 🙂
I was so excited to have all the ingredients and made them this morning. Holy cow…these are amazing! I used cashew butter instead of almond butter. I will be making these a lot!!
Hi Angela, thank you so much for the review 🙂
These brownie bars are so easy and satisfying and I’m excited for you to try them 🙂