Easy Homemade Gluten-Free and Vegan Oreo Cookie Recipe
|
This Gluten-Free Oreo Cookie Recipe is made with almond flour, cashew butter, vegan white chocolate, maple syrup, and coconut oil. Free from refined white flour and powdered sugar, these cookies offer a healthier take on the classic favorite, with a creamy filling that won’t squish out. Simple, customizable, and delicious!

If you’re an Oreo cookie fan craving a healthier option, this Vegan Oreo Cookie Recipe is exactly what you need. These cookies are made with wholesome ingredients like almond flour, cashew butter, vegan white chocolate, maple syrup, and coconut oil—no refined white flour or powdered sugar in sight.
Unlike other copycat Oreo recipes that use powdered sugar in the filling (which often squishes out when you take a bite), this recipe ensures the perfect creamy texture with ingredients that hold their shape. Plus, I’ve added a few simple tips to give these cookies a decorative touch, making them look extra special. Whether you’re making them for friends, family, or yourself, you’ll love the flexibility of customizing them just the way you like. And when you serve them, no one will believe they’re homemade!
How can I get homemade Oreo cookies to be crispy like store-bought Oreos?
This is a common challenge with gluten-free baking, as gluten helps cookies hold their shape and crisp up. Adding tapioca flour to the cookies and baking them slightly longer than soft cookies gives them strength and the perfect snap.
Why You’ll Love This Gluten-Free Vegan Oreo Cookie Recipe
- Healthier Ingredients: Made without refined white flour or powdered sugar, using wholesome alternatives.
- Perfect Texture: The creamy filling holds its shape, so it won’t squish out when you take a bite.
- Easy to Customize: Add your own decorative touches or flavors to make them uniquely yours.
- Crowd Pleaser: Your friends and family won’t believe these Oreos are homemade!

Ingredients & Substitutions
Here is everything you need to make the best-tasting gluten-free Oreo cookies:
Almond flour: You can substitute other gluten-free flours, such as oat flour, brown rice flour, or quinoa flour.*
Tapioca flour: This flour helps to bind the cookies and give them a chewy texture. You can substitute cornstarch or potato starch.
Maple syrup: You can substitute other liquid sweeteners, such as agave syrup, brown rice syrup, or coconut sugar.*
Cocoa powder: You can use unsweetened or sweetened cocoa powder.
Coconut oil: You can substitute another vegetable oil, such as olive oil or avocado oil.*
Vanilla extract: You can substitute another extract, such as almond extract or peppermint extract.
Cinnamon: You can omit the cinnamon if you don’t like it.
Salt: You can omit the salt if you prefer.
White chocolate chips: You can substitute another type of chocolate chips, such as semisweet chocolate chips or milk chocolate chips.
Cashew butter: You can substitute another nut butter, such as almond butter or peanut butter.
*I have not tested this substitution.

How to Make My Vegan Gluten-Free Oreo Cookie Recipe
Here are easy, detailed, step-by-step instructions for the best way to make homemade blueberry pie ice cream with cottage cheese. The instructions are also repeated in the recipe card at the bottom of this blog post.
Step 1. Make the cookie dough
Combine the almond flour, tapioca flour, maple syrup, cocoa powder, coconut oil, vanilla extract, cinnamon, and salt in an upright mixer, mixing bowl, or food processor. Mix until well blended.
Test the moisture level of the dough by rolling a small amount in the palm of your hand. If it leaves chocolate residue, then you need more flour. Add more almond flour, 1 tablespoon at a time, until the rolled dough no longer leaves any chocolate residue when rolled in your hands.


Step 2. Roll the cookie dough
Place two bbq skewers on one half of a sheet of parchment paper. Roll 1/3 of the dough into a large ‘worm’ shape and place in between the skewers. Cover with the other half of the parchment paper and roll out the dough using a rolling pin. Press down until the rolling pin is resting on the two skewers, and roll the dough away from the center.
Cut out circular cookies with a cookie cutter and place them on a parchment-lined cookie sheet. The cookies will not spread during baking, so place them fairly close together.


Optional: You can add a decorative stamp using the next smaller size in this nested cookie cutter set. Lightly press the scalloped edge of the cookie cutter centered on each cookie. Then poke a small hole in the center of the cookie with the tip of the skewer.
Bake the cookies @ 350°F for 10 minutes.


Step 3. Make white chocolate cream filling
Combine the white chocolate chips and 1/2 teaspoon coconut oil in a microwave-safe bowl and melt in 20-25 second intervals, stirring in between. Cooking it for longer intervals could result in the white chocolate overheating and becoming thick, chalky and unrecoverable.
Once the chocolate is melted, stir in the cashew butter until well combined.


Step 4. Fill the cookies
You can spoon the chocolate cream onto half of the cookies. But piping will give you a cleaner edge. You can use a frosting piping bag and round tip or a simple plastic sandwich bag. Fill the bag with the cream, and cut out a small triangle from one bottom corner. Begin piping a bead of cream within about 1/8″ from the outer edge of the cookie and gradually work your way to the center.
Allow the piped cookie halves to set until the cream is slightly firm but still tacky. Then, gently press the remaining half of the cookies on top. You can leave the cookies on the counter to harden or set them in the fridge to speed it up.


Oreo Copycat Cookie Recipe Notes
Here are some additional tips for making the gluten free vegan Oreo cookie recipe:
- Make sure to use room temperature ingredients. This will help the cookies to come together more easily.
- Don’t overmix the dough. Overmixing will make the cookies tough.
- Bake the cookies until they are just set. Overbaking will make them dry.
- Be careful not to overheat the white chocolate chips when melting them. Overheating the white chocolate can make it thick, chalky, and unrecoverable.
- You can use a frosting piping bag and round tip or a simple plastic sandwich bag to pipe the chocolate cream onto the cookies.
- Allow the piped cookie halves to set until the cream is slightly firm but still tacky. This will help the cookies to stick together when you press them together.
Chocolate Sandwich Cookie Serving Suggestions
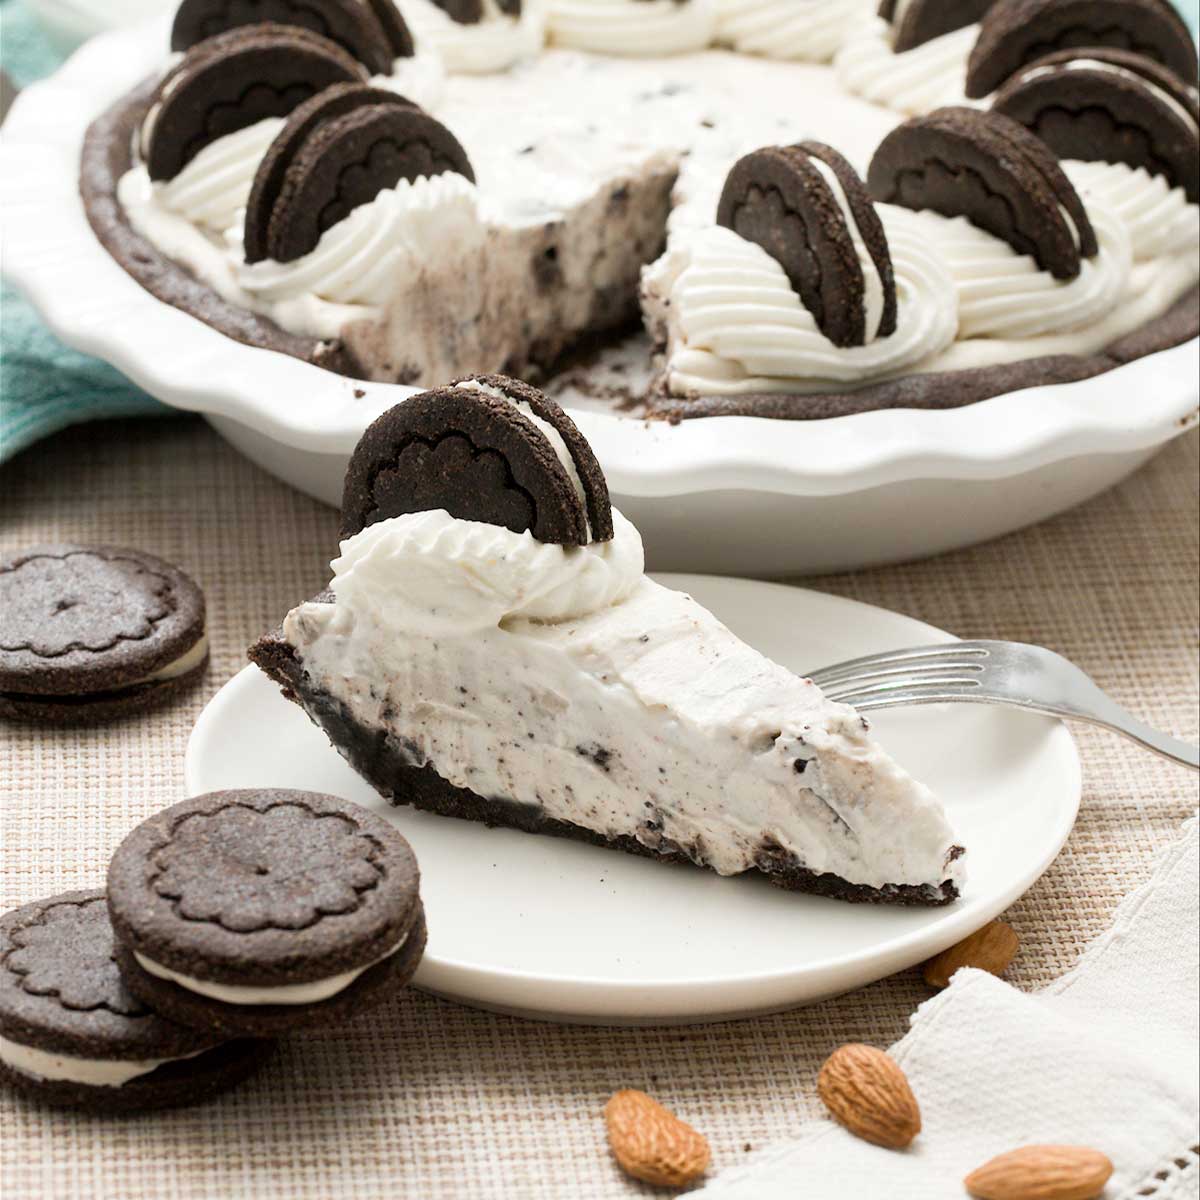
- Serve the cookies as they are, or with a glass of milk or coffee.
- Dip the cookies in melted chocolate or caramel.
Sandwich the cookies with ice cream. - Use the cookies to make a cookie cake or ice cream sundae.
- Crush the cookies and use them as a topping for brownies or cheesecake.
- Make a gluten-free vegan Oreo milkshake by blending the cookies with ice cream, milk, and your favorite toppings.
Do you love chocolate cookies? Check out more of my easy and nutritious cookies with chocolate recipes:

Easy Homemade Gluten-Free Vegan Oreo Cookie Recipe
Dairy-Free | Gluten-Free | VeganIngredients
Chocolate Cookies:
- 1-1/2 cups almond flour
- 1/2 cup tapioca flour
- 1/4 cup maple syrup
- 1/4 cup cocoa powder
- 2 tablespoons coconut oil (melted)
- 2 teaspoons vanilla extract
- 1 teaspoon cinnamon
- 1/2 teaspoon salt
White Chocolate Cream Filling:
- 2/3 cup white chocolate chips
- 3 tablespoons cashew butter
- 1/2 teaspoon coconut oil
Instructions
Chocolate Cookies:
- Preheat your oven to 350°F.
- Combine the almond flour, tapioca flour, maple syrup, cocoa powder, coconut oil, vanilla extract, cinnamon, and salt in an upright mixer, mixing bowl, or food processor. Mix until well blended. Test the moisture level of the dough by rolling a small amount in the palm of your hand. If it leaves chocolate residue, then you need more flour. Add more almond flour, 1 tablespoon at a time, until the rolled dough no longer leaves any chocolate residue when rolled in your hands.
- Place two bbq skewers on one half of a sheet of parchment paper. Roll 1/3 of the dough into a large 'worm' shape and place in between the skewers. Cover with the other half of the parchment paper and roll out the dough using a rolling pin. Press down until the rolling pin is resting on the two skewers, and roll the dough away from the center.Cut out circular cookies with a cookie cutter and place them on a parchment-lined cookie sheet. The cookies will not spread during baking, so place them fairly close together.
- Optional: You can add a decorative stamp using the next smaller size in this nested cookie cutter set. Lightly press the scalloped edge of the cookie cutter centered on each cookie. Then poke a small hole in the center of the cookie with the tip of the skewer.
- Bake the cookies @ 350°F for 10 minutes.
White Chocolate Cream:
- Combine the white chocolate chips and 1/2 teaspoon coconut oil in a microwave-safe bowl and melt in 20-25 second intervals, stirring in between. Cooking it for longer intervals could result in the white chocolate overheating and becoming thick, chalky and unrecoverable.Once the chocolate is melted, stir in the cashew butter until well combined.
- You can spoon the chocolate cream onto half of the cookies. But piping will give you a cleaner edge. You can use a frosting piping bag and round tip or a simple plastic sandwich bag. Fill the bag with the cream, and cut out a small triangle from one bottom corner. Begin piping a bead of cream within about 1/8" from the outer edge of the cookie and gradually work your way to the center. Allow the piped cookie halves to set until the cream is slightly firm but still tacky. Then, gently press the remaining half of the cookies on top. You can leave the cookies on the counter to harden or set them in the fridge to speed it up.
Video
Nutrition
Important Disclaimer
This recipe is created by a home cook and not a medical professional. Our ingredient philosophy is reviewed by RDNs, but this specific post is not personalized medical advice. Please consult your healthcare provider for dietary concerns.
Looking for more desserts made without refined sugar?
Browse all of my naturally sweetened dessert recipes, made with maple syrup, honey, fruit, and other simple sweeteners for treats that feel familiar and satisfying.

I hope you all love this recipe as much as I do! I love hearing your feedback and reviews 🙂
Thank you for an easy and delicious recipe my whole family can eat with our good allergies!