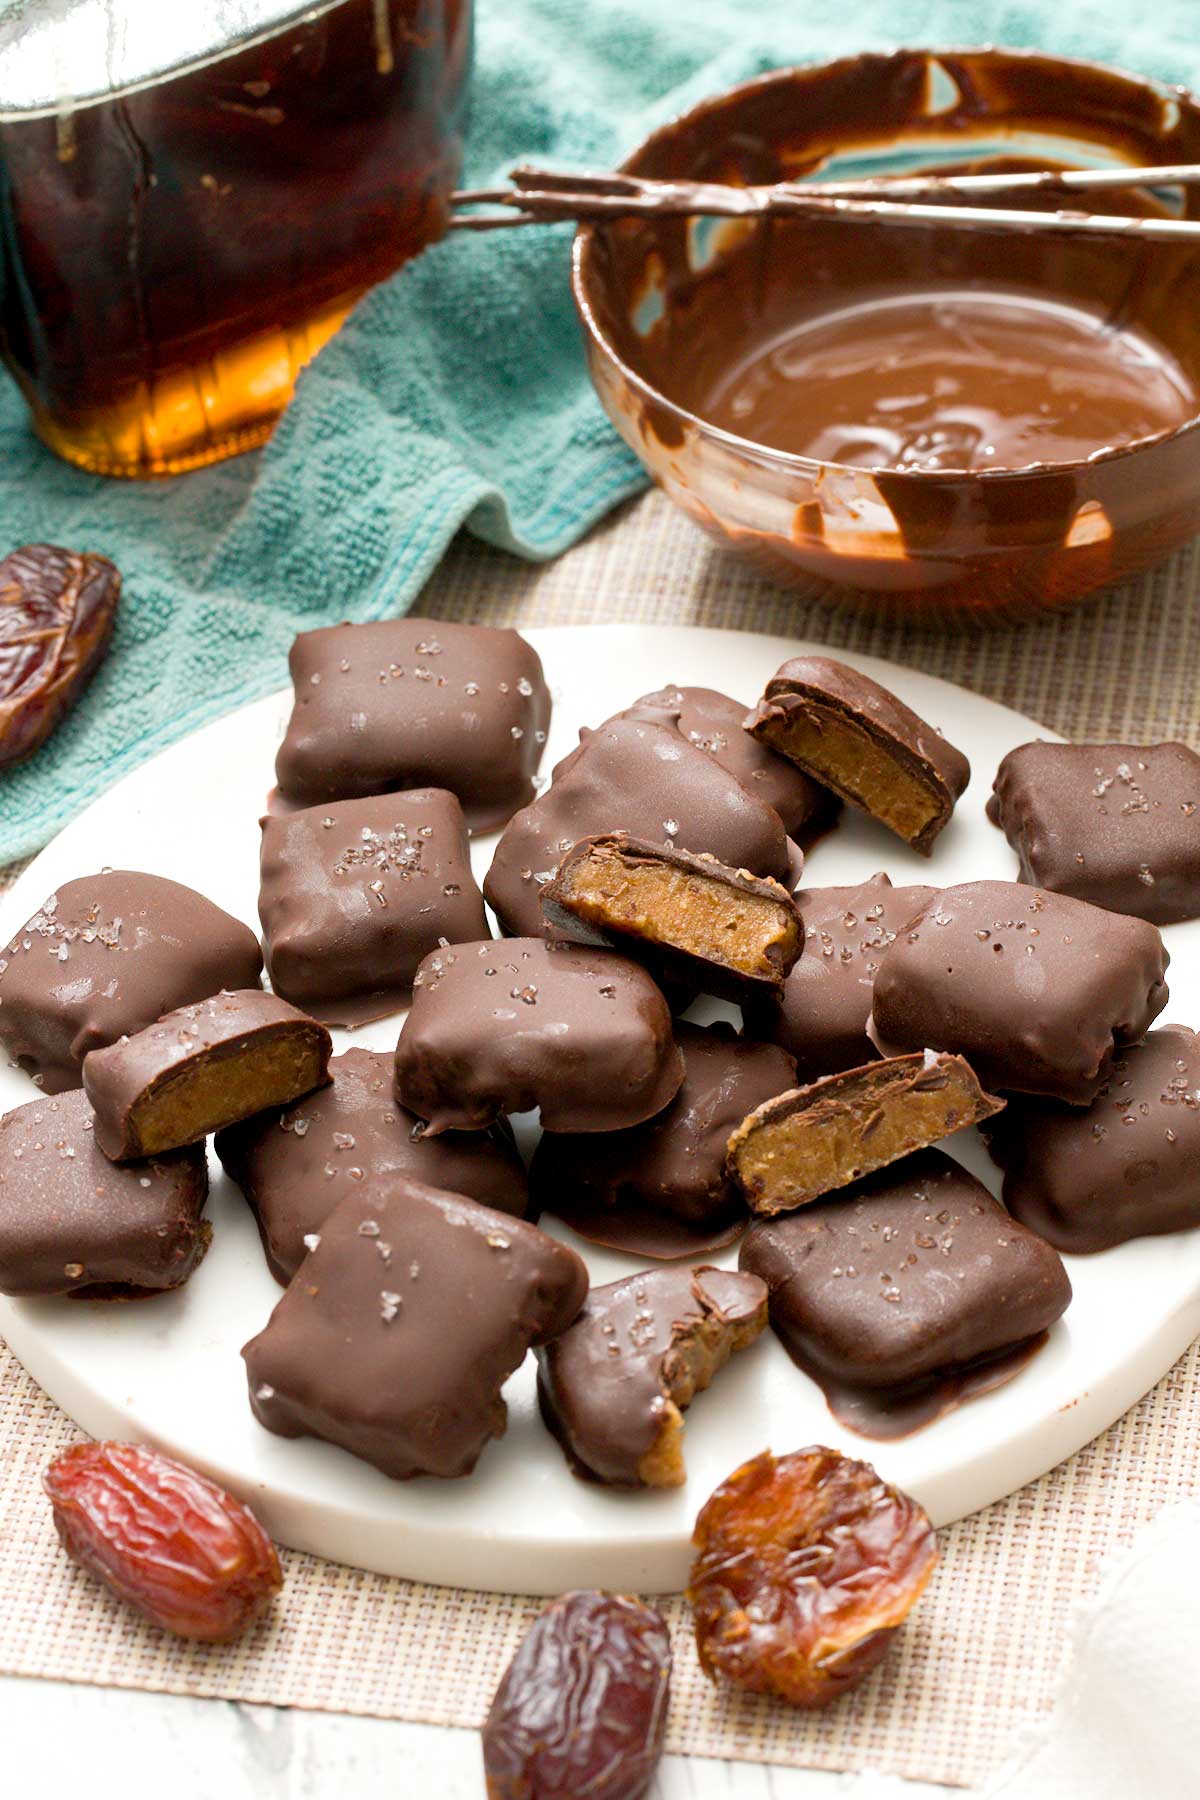
Chocolate Covered Date Caramels (Dairy-Free)
|
These chocolate covered date caramels combine rich Medjool dates, cashew butter, almond flour, and maple syrup for naturally sweet, dairy-free no bake treats. Soft caramels dipped in chocolate create the perfect healthy candy bar alternative.
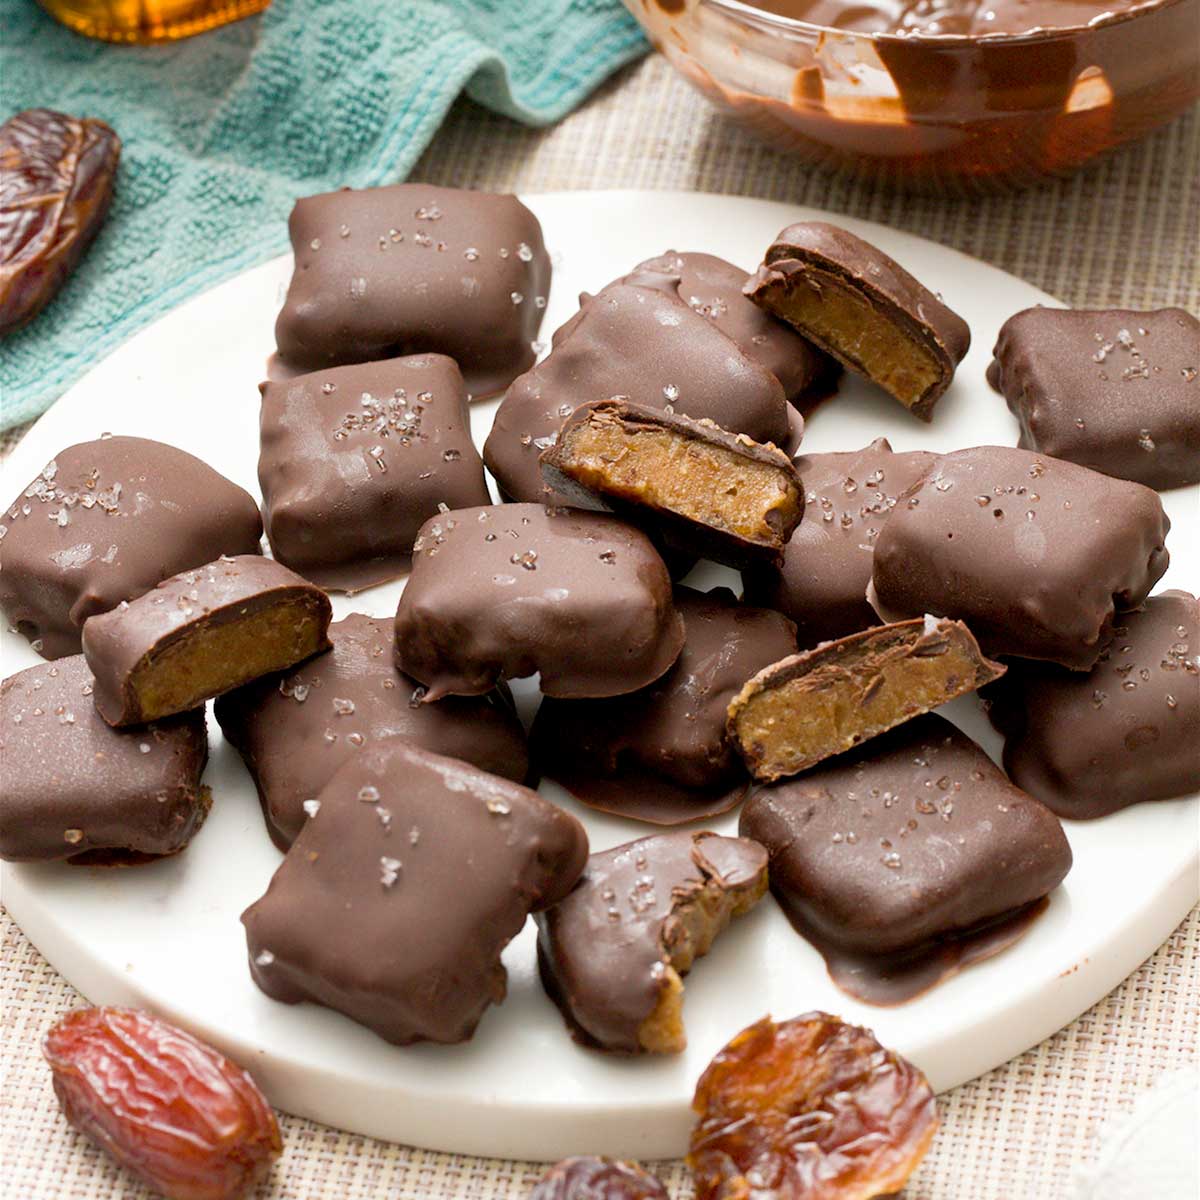
You know those moments when you’re craving something that tastes like a fancy candy bar but you don’t want all the refined sugar and dairy that comes with it? These chocolate covered date caramels are exactly what you need. I’m talking soft, chewy caramels made with Medjool dates, cashew butter, and a touch of maple syrup, all dipped in rich dark chocolate. The best part? These no bake date caramels come together in your food processor without any candy thermometers or tricky techniques.
What sets this recipe apart is how the natural sugars in dates create that perfect chewy caramel texture, while a simple chocolate coating gives you that candy bar experience you’re after. My kids have no idea these healthy date caramels are actually good for them, and honestly, I’m not telling them because they disappear way too fast as it is!
Why You’ll Love This Chocolate Covered Date Caramels Recipe
No fancy equipment needed: Just a food processor and your freezer create these soft date caramels with perfect texture.
Naturally sweetened perfection: Medjool dates and maple syrup deliver rich caramel flavor without any refined sugar.
Dairy-free indulgence: These vegan date caramels satisfy your candy cravings while fitting your dietary needs.
Make-ahead friendly: These freezer-friendly treats store beautifully and taste even better after setting overnight.
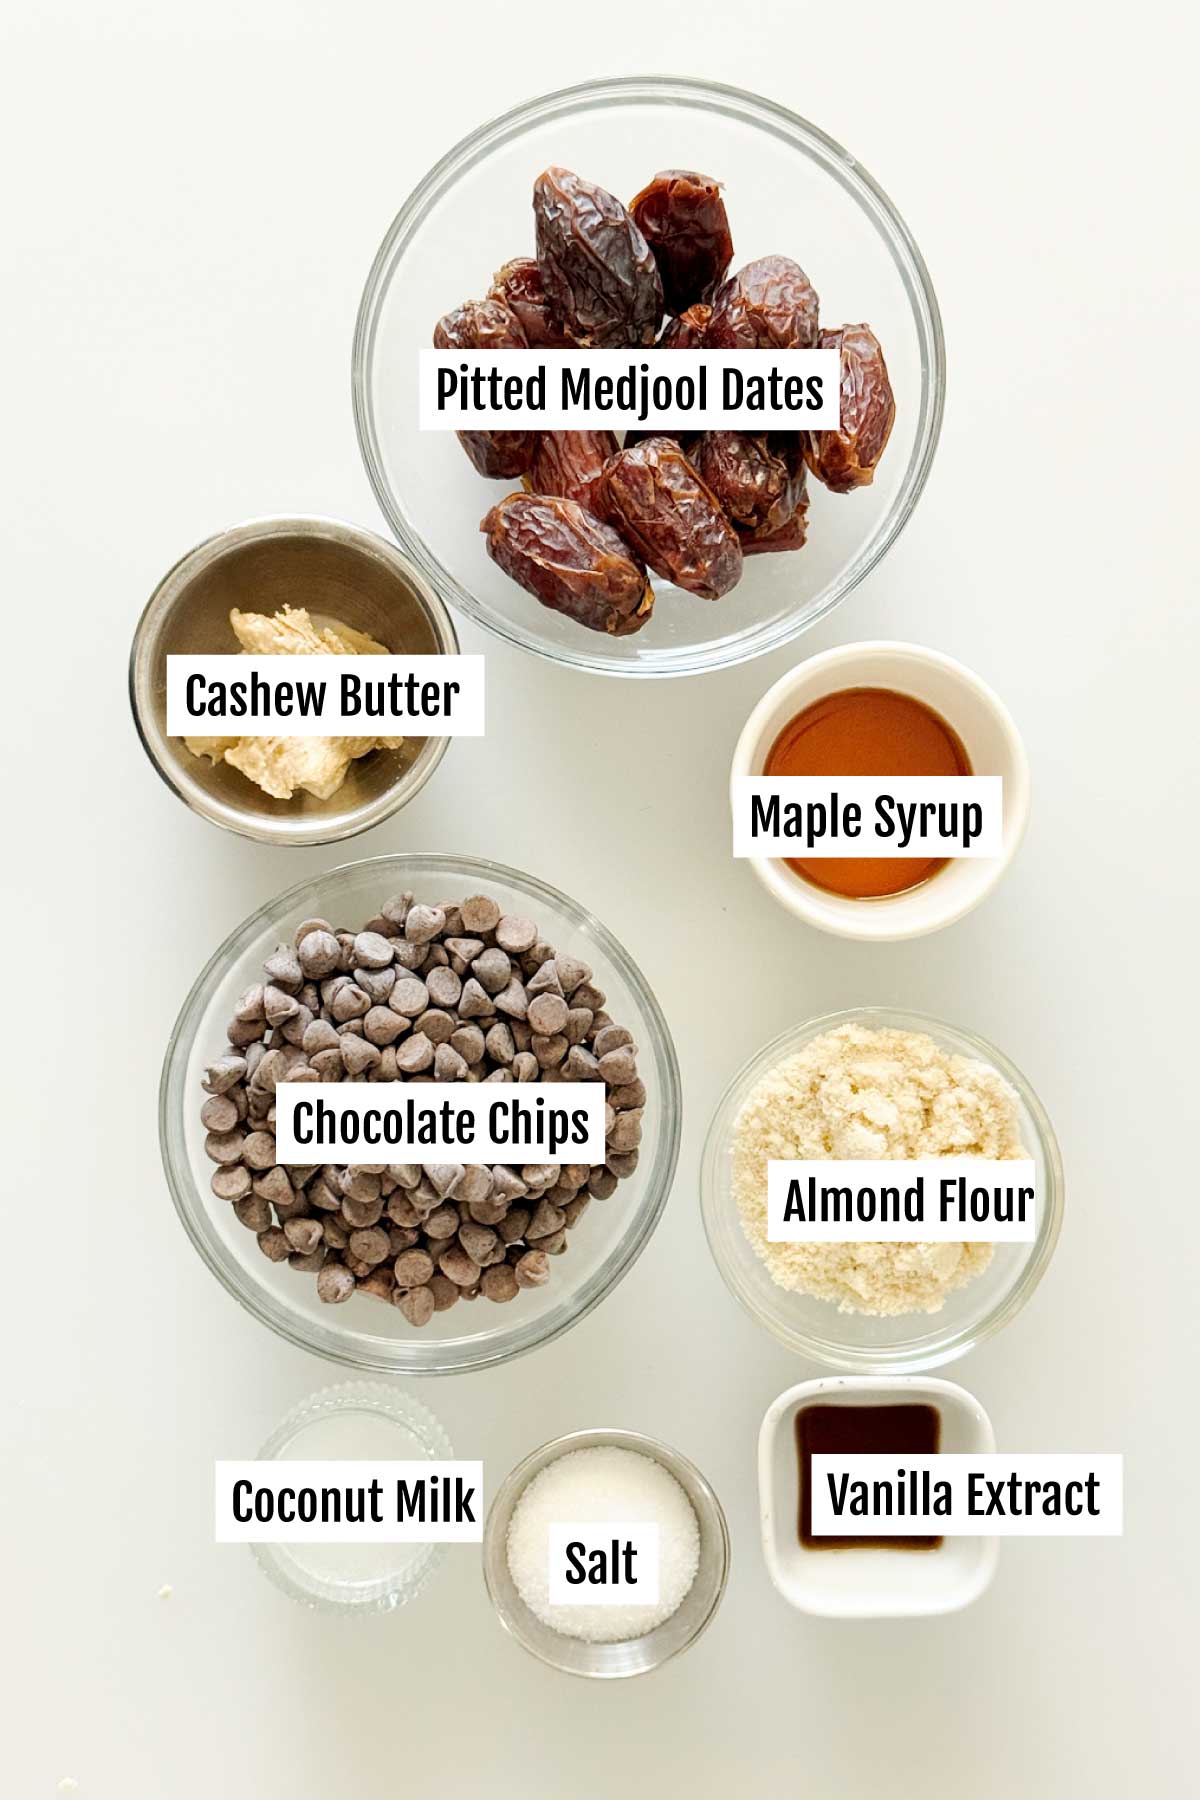
Ingredients & Substitutions
Here is everything you need to make chocolate covered date caramels:
Medjool Dates: You can swap with Deglet Noor dates, though you might need a few extra since they’re smaller and less sweet.
Maple Syrup: Adds extra caramel flavor and helps bind everything together. You can try honey if not strictly vegan, or agave nectar.
Cashew Butter: Almond butter works great too, or try sunflower seed butter for nut-free caramels.
Vanilla Extract: Deepens the caramel flavor but you can swap with half as much almond extract for a different flavor.
Coconut Oil: Helps create smooth texture and makes the caramels easier to cut. You can try melted butter if dairy isn’t a concern, because it’s also solid when cool.
Dark Chocolate Chips: Use any dairy-free chocolate chips you love, or chop up a dark chocolate bar for melting.
Flaky Sea Salt: Adds that gourmet finishing touch on top. Regular sea salt works great, too!
Easily Adapt This Recipe for Any Diet
This recipe is naturally easy to tweak! Follow these simple swaps to make it gluten-free, dairy-free, or vegan while keeping the same great texture and flavor.
Gluten-Free: This recipe is naturally gluten-free as written – just double-check your chocolate chips don’t contain any gluten-containing ingredients.
Dairy-Free: Already dairy-free! Just make sure your chocolate chips are dairy-free varieties.
Vegan: This recipe is completely vegan as written with plant-based ingredients throughout.
💡 Pro Tip: If you try a substitution, let us know how it worked in the comments!
How to Make My Chocolate Covered Date Caramels Recipe
Here are easy, detailed, step-by-step instructions that are also repeated in the recipe card at the bottom of this blog post.
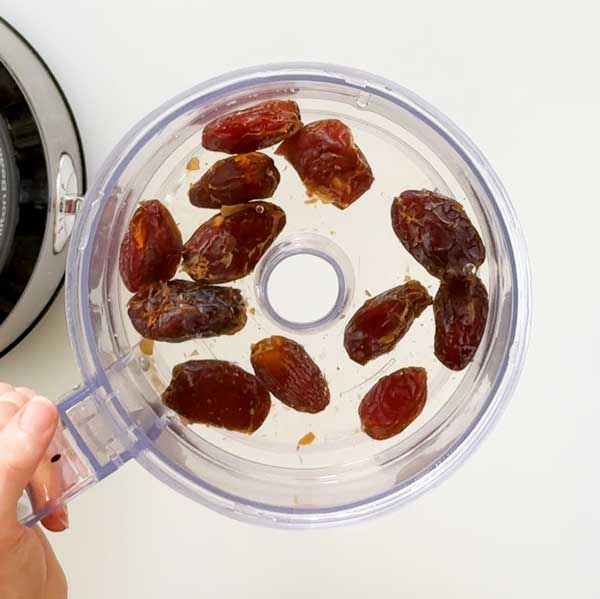
Step 1: Prepare the Dates
Soak 12 pitted Medjool dates in a bowl of your hottest tap water for 10 minutes. This softens them for easier blending. Drain completely and add to your food processor.
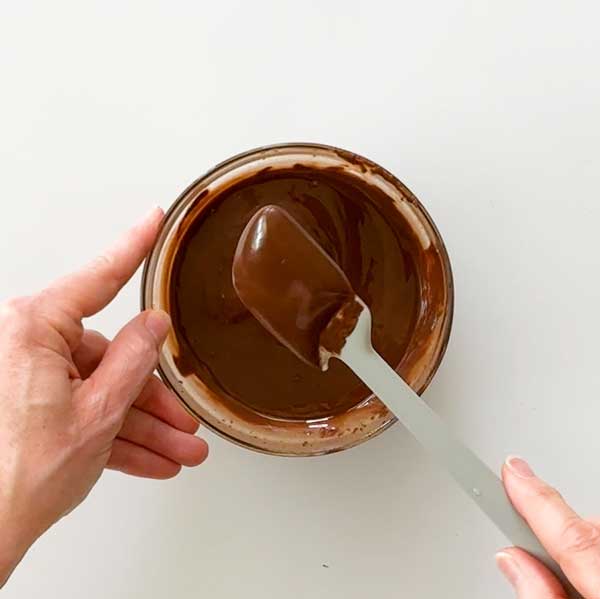
Step 2: Make the Caramel
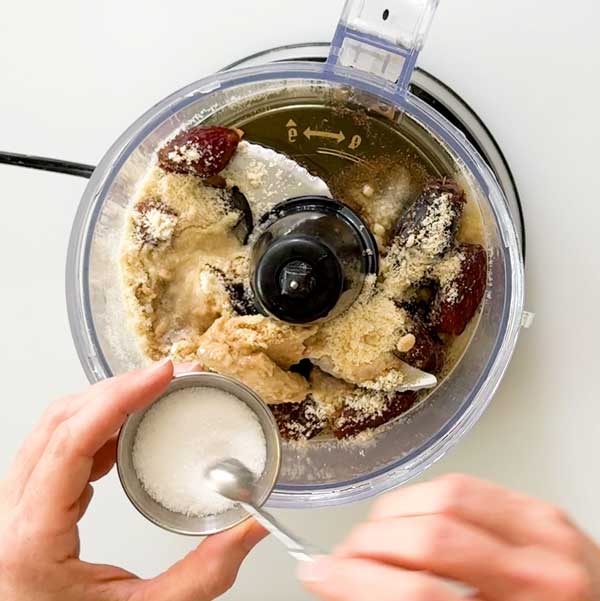
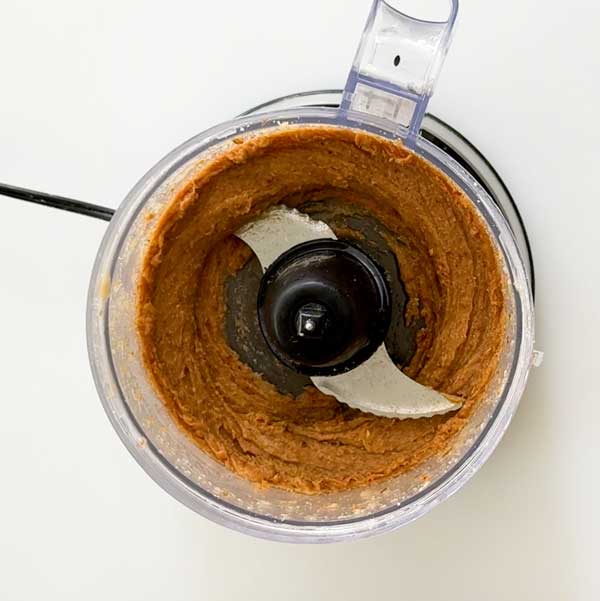
Add 2 tablespoons maple syrup, 2 tablespoons cashew butter, 2 tablespoons almond flour, 1/4 teaspoon salt, 1 teaspoon vanilla extract, and 1 tablespoon coconut oil to the food processor with the dates. Pulse several times to break up the dates, then blend on high until well incorporated. Scrape down the sides and mix several times as needed.
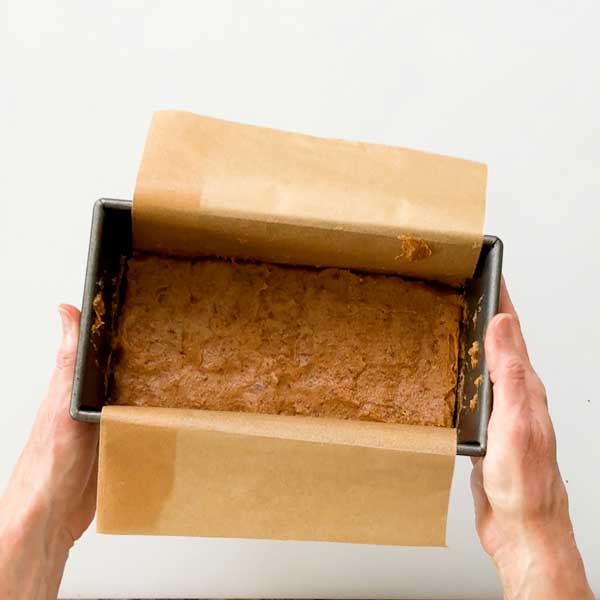
Line a 4×8 inch bread pan with parchment paper and spread the caramel mixture evenly. Freeze for at least 1 hour until completely solid. This makes cutting into clean squares so much easier.
Step 3: Prepare the Chocolate
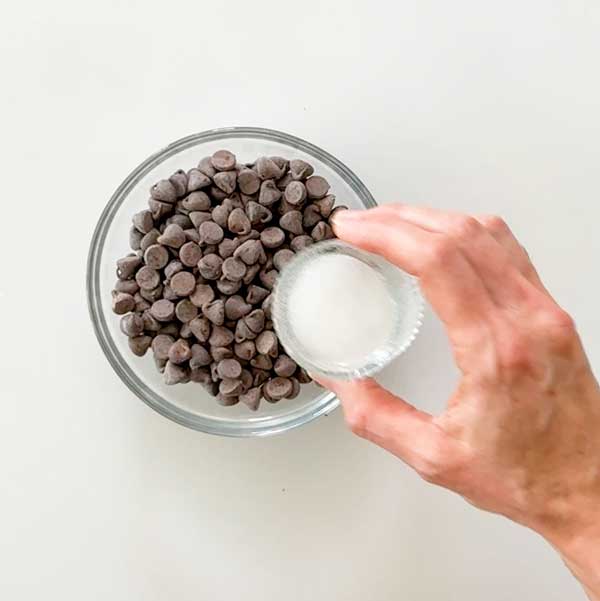
A few minutes before removing the caramels from the freezer, melt 1 cup dark chocolate chips and 1 tablespoon coconut oil in 30-second intervals in the microwave, stirring between each interval, until smooth and completely melted.
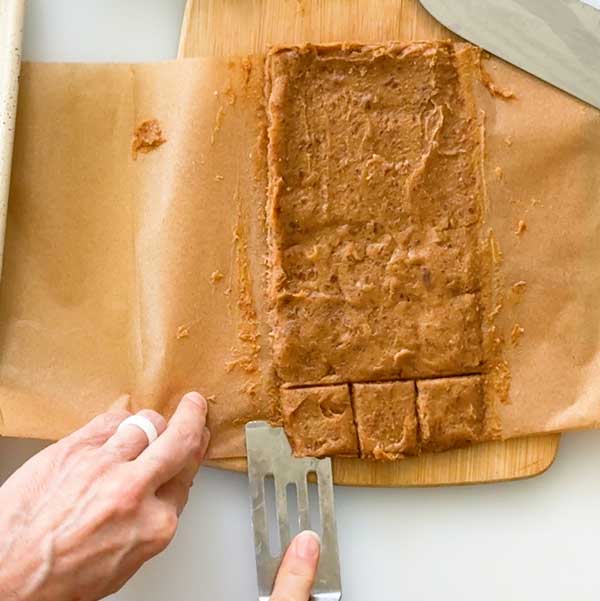
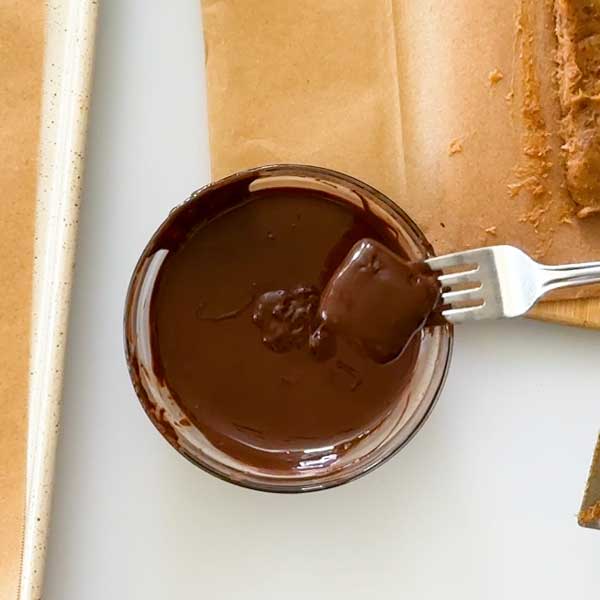
Step 4: Cut and Dip
Remove the caramels from the freezer and lift out using the parchment paper. Cut into squares. Dip each square in the melted chocolate and place on a parchment-lined cookie sheet. Sprinkle with flaky sea salt while the chocolate is still wet.
Return the dipped caramels to the fridge or freezer to set the chocolate coating completely before serving.
My Expert Recipe Tips
Soak dates in hot water: This crucial step softens tough dates and prevents your food processor from overworking while creating the smoothest caramel texture.
Scrape the bowl often: Date caramel can be sticky, so stop and scrape down your food processor bowl several times for the most even texture.
Use parchment for easy removal: Lining both your setting pan and dipping sheet with parchment prevents sticking and makes cleanup effortless.
Freeze before cutting: Letting the caramel set completely in the freezer makes clean, even squares possible without the mixture sticking to your knife.
Work quickly with chocolate: Once you start dipping, the cold caramels will make the chocolate set fast, so have everything ready and work in batches if needed.
Delicious Serving Suggestions
- Gift boxes: I like to arrange these in small gift boxes for holidays. You’ll love how they look just like expensive artisan chocolates.
- Ice cream topping: Chop them up and sprinkle over vanilla ice cream. You’ll love the contrast of cold, creamy ice cream with chewy caramel pieces.
- Party platters: I arrange these on dessert platters alongside fresh fruit. The natural sweetness balances beautifully with berries and citrus.
Frequently Asked Questions
Do you love homemade candy bars? Check out more of my easy and delicious chocolate treat recipes:
- Twix Protein Bars with Almond Flour
- Homemade Snickers Candy Bars
- Chocolate Pumpkin Protein Truffles (Cottage Cheese)
- Five-Ingredient Peanut Butter Cups
- Peppermint Chocolate Date Bark Recipe
- Caramel Apple Chocolate Date Bark with Pretzels
- Cinnamon White Chocolate Date Bark Recipe
- Almond Joy Coconut Viral Date Bark Recipe

Chocolate Covered Date Caramels (Dairy-Free)
Dairy-Free | Gluten-FreeIngredients
- 12 medjool dates
- 2 tablespoons almond flour
- 2 tablespoons cashew butter
- 2 tablespoons maple syrup
- 1 tablespoon coconut oil
- 1 teaspoon vanilla extract
- 1/4 teaspoon salt
Chocolate Coating:
- 1 cup chocolate chips (dairy free if needed)
- 1 tablespoon coconut oil
Instructions
- Soak 12 pitted Medjool dates in a bowl of your hottest tap water for 10 minutes. This softens them for easier blending. Drain completely and add to your food processor.
- Add 2 tablespoons maple syrup, 2 tablespoons cashew butter, 2 tablespoons almond flour, 1/4 teaspoon salt, 1 teaspoon vanilla extract, and 1 tablespoon coconut oil to the food processor with the dates. Pulse several times to break up the dates, then blend on high until well incorporated. Scrape down the sides and mix several times as needed.
- Line a 4×8 inch bread pan with parchment paper and spread the caramel mixture evenly. Freeze for at least 1 hour until completely solid. This makes cutting into clean squares so much easier.
- A few minutes before removing the caramels from the freezer, melt 1 cup dark chocolate chips and 1 tablespoon coconut oil in 30-second intervals in the microwave, stirring between each interval, until smooth and completely melted.
- Remove the caramels from the freezer and lift out using the parchment paper. Cut into squares. Dip each square in the melted chocolate and place on a parchment-lined cookie sheet. Sprinkle with flaky sea salt while the chocolate is still wet.
- Return the dipped caramels to the fridge or freezer to set the chocolate coating completely before serving.
Video
Notes
Nutrition
Important Disclaimer
This recipe is created by a home cook and not a medical professional. Our ingredient philosophy is reviewed by RDNs, but this specific post is not personalized medical advice. Please consult your healthcare provider for dietary concerns.
Looking for more desserts made without refined sugar?
Browse all of my naturally sweetened dessert recipes, made with maple syrup, honey, fruit, and other simple sweeteners for treats that feel familiar and satisfying.

Hi Nicole, I wanted to tell you that I made the chocolate date caramel candy and 😱 oh my they were so good. I swapped the semi sweet chocolate for milk chocolate on some for the teens in my life and they loved them. Thank you so much🙏🏼.
Thank you so much for sharing this with me, Esmerelda! I’m so glad your teens loved them, too 🙂
I used to make something similar to these when I was a kid but your method was much easier! I used half as much maple syrup to bring down the sugar level a little.
Thank you, Nancy!
I wasn’t sure if I would like dates but these taste really good. I think the dates are actually better than the gooey caramel. I used almond butter instead of cashew because that’s what I had in hand. I need to make a double-batch next time!
Thank you, Cassie! I’m glad you took a chance on my recipe 🙂
These date caramels are so delicious and fun to make! Please let me know how they turn out in the comments below 🙂