BEST Almond Flour Gluten-Free Vanilla Wafer Recipe
|
These Gluten-Free Vanilla Wafers are made with almond flour, tapioca flour, and avocado oil, and naturally sweetened with maple syrup. With a shortbread-like texture and no refined sugar or preservatives, they offer a clean, crunchy alternative to store-bought nilla wafers. Perfect for those with gluten allergies!

These Gluten-Free Vanilla Wafers have the perfect crunch and flavor, just like classic nilla wafers, but made with clean, simple ingredients. Crafted with almond flour, tapioca flour, and avocado oil, they offer a fantastic shortbread-like texture. Naturally sweetened with maple syrup and free from high fructose corn syrup or refined sugars, these vanilla wafer cookies are a better alternative to store-bought options. Whether you’re baking for yourself or catering to gluten allergies, these wafers are a great go-to recipe. With their simple yet incredible flavor, they’re perfect for snacks, desserts, or as a base for your favorite recipes.
Why You’ll Love This Easy Nilla Wafer Copycat Recipe
- Perfectly crunchy: These vanilla wafers have the ideal crisp texture, just like classic nilla wafers.
- Clean ingredients: Made with almond flour, avocado oil, and maple syrup, without any refined sugar or preservatives.
- Gluten-free goodness: A delicious, allergen-friendly option everyone can enjoy.
- Versatile treat: Perfect for snacking, desserts, or using as a base in your favorite recipes.

Ingredients & Substitutions
Here is everything you need to make the best-tasting gluten-free vanilla cookies recipe:
Almond Flour: You can substitute almond flour with other nut flours like hazelnut flour or cashew flour or oat flour. You can also use coconut flour, but you may need to adjust the quantity as coconut flour absorbs more liquid.
Tapioca Flour: This is also called tapioca starch and can be replaced with Arrowroot flour or potato starch in equal amounts.
Maple Syrup: Honey, agave nectar, or date syrup can be used instead of maple syrup. Keep in mind that the flavor may vary slightly. You can also use granulated sugar. But you may need to adjust the amount of flour to get the same cookie dough consistency.
Vanilla Extract: For the best vanilla flavor, you can use pure vanilla extract or imitation vanilla extract. Other extracts, like almond, lemon, or even rum extract, can be used for a different flavor profile.
Avocado Oil: You can use light olive oil, melted coconut oil, melted butter, or any other neutral-flavored oil instead of avocado oil.
Almond Extract: If you don’t have almond extract, you can omit it or use a different extract like vanilla or even orange extract for a different flavor.
Salt: You can omit salt if you want to reduce sodium, but it may slightly affect the overall flavor.

How to Make My Homemade Gluten-Free Vanilla Wafers Recipe
Here are easy, detailed, step-by-step instructions for the best way to make this delicious healthier copycat recipe. The instructions are also repeated in the recipe card at the bottom of this blog post.
Step 1: Make the Wafer Cookie Dough
Preheat oven to 350ºF
Combine all the ingredients in a mixing bowl with a spatula, stand mixer, or food processor. Blend the ingredients until a dough forms. To determine whether your dough is dry enough, break off a tablespoon-sized ball and try rolling it in your hands. If it’s too wet to roll, mix in 1 tablespoon of almond flour until you reach a dry enough consistency. It should be lightly tacky.


Step 2: Form and Bake the Crunchy Cookies
Using a spoon or cookie scoop, roll a ball of dough in your hands and place it on the parchment-lined baking sheet. Cover with a separate piece of parchment and gently press down to flatten the cookie to about a 1/4-inch thickness. You may need to rub some butter on the palms of your hands so the dough doesn’t stick to them. Repeat for the remaining cookies.
Bake for 11-13 minutes or until lightly golden brown. Allow them to cool.


Homemade Nilla Wafers Recipe Notes
Dough Consistency: The dough should be firm enough to roll into balls. If it’s too wet, add more almond flour a tablespoon at a time until it reaches the right consistency.
Hand Buttering: Rubbing butter on your hands can help prevent the dough from sticking to them when shaping the cookies.
Baking Time: Keep an eye on the cookies as they bake, as almond flour can brown quickly. They should be lightly golden brown when done.
Delicious Serving Suggestions:
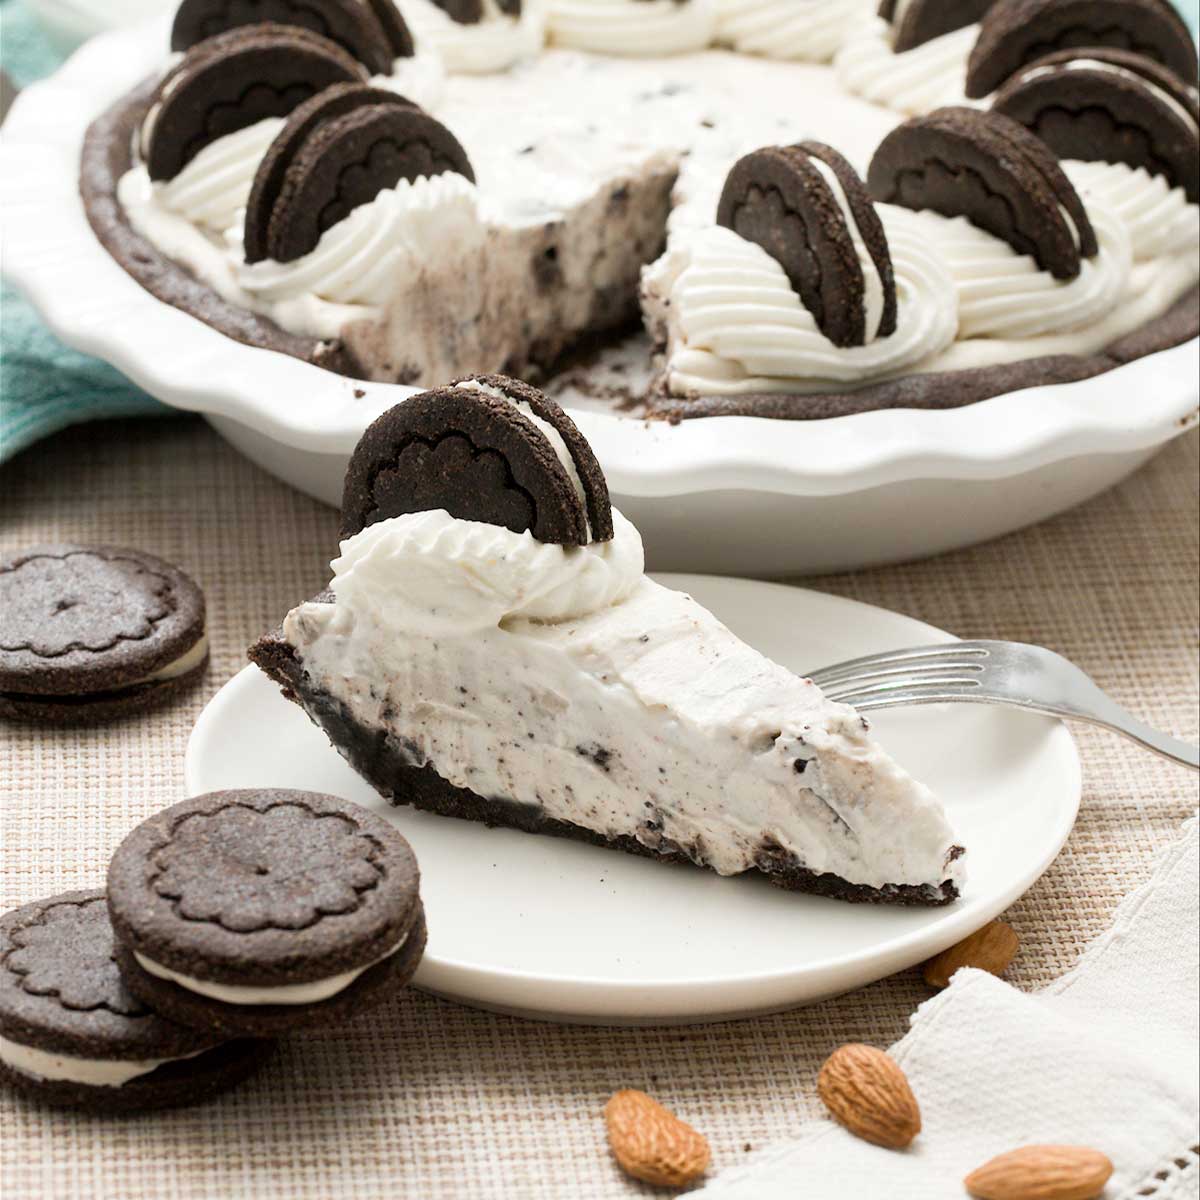
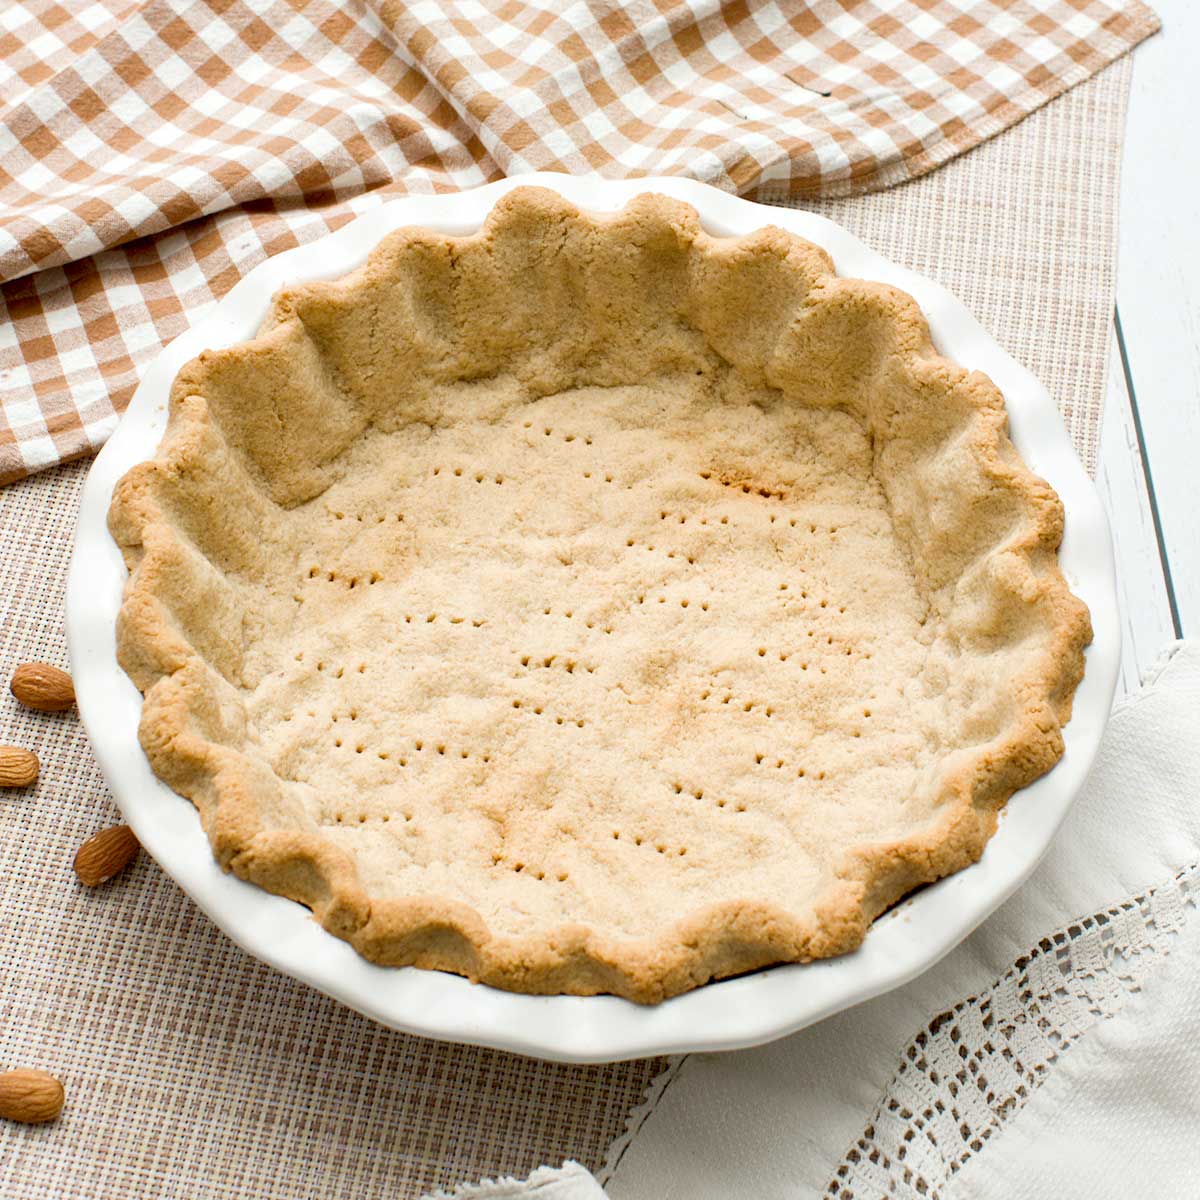
These simple cookies would taste incredible in a gluten-free banana cream pie, gluten-free banana pudding, or even with a glass of milk.
My favorite way to enjoy them is in my Banana Salted Caramel Cottage Cheese Ice Cream when I’m craving a sweet treat with classic cookies.
Do you love cookies? Check out more of my easy and nutritious cookie recipes:

EASY Almond Flour Gluten-Free Vanilla Wafer Recipe
Gluten-FreeIngredients
- 3/4 cup almond flour
- 2 tablespoons tapioca flour
- 2 tablespoons maple syrup
- 2 teaspoons vanilla extract
- 1 tablespoon oil (avocado oil is my fave)
- 1/4 teaspoon almond extract
- 1/8 teaspoon salt
Instructions
- Preheat oven to 350ºF
- Combine all the ingredients in a small bowl. Blend the ingredients with a spatula until a dough forms. To determine whether your dough is dry enough, break off a tablespoon-sized ball and try rolling it in your hands. If it's too wet to roll, mix in 1 tablespoon of almond flour until you reach a dry enough consistency to roll a dough ball.
- Continue forming dough balls and flatten them into cookie shapes on a piece of parchment paper. You may need to rub some butter on the palms of your hands so the dough doesn't stick to them. Press the cookies to about .25" thickness. They don't have to look perfect since they will be broken up into pieces in the ice cream.
- Bake for 11-13 minutes or until lightly golden brown. Allow them to cool.
Notes
Nutrition
Important Disclaimer
This recipe is created by a home cook and not a medical professional. Our ingredient philosophy is reviewed by RDNs, but this specific post is not personalized medical advice. Please consult your healthcare provider for dietary concerns.
Looking for more desserts made without refined sugar?
Browse all of my naturally sweetened dessert recipes, made with maple syrup, honey, fruit, and other simple sweeteners for treats that feel familiar and satisfying.

Super valuable recipe these things are so versatile. I can dip them in peanut butter, whip cream, or even jelly. Highly recommend. 👍
Hi Tracy, I love your serving suggestions! Thank you for the review 🙂
Super easy and simple recipe! Loved using almond flour.
Thank you for the review, Gail! I’m so glad you like this recipe 🙂
I’m excited to share this simple but delicious recipe with you! You get the vanilla flavor and crunch from a classic vanilla wafer, but it is much healthier with clean, natural ingredients. I hope you have a chance to make it! Let me know what you think 🙂