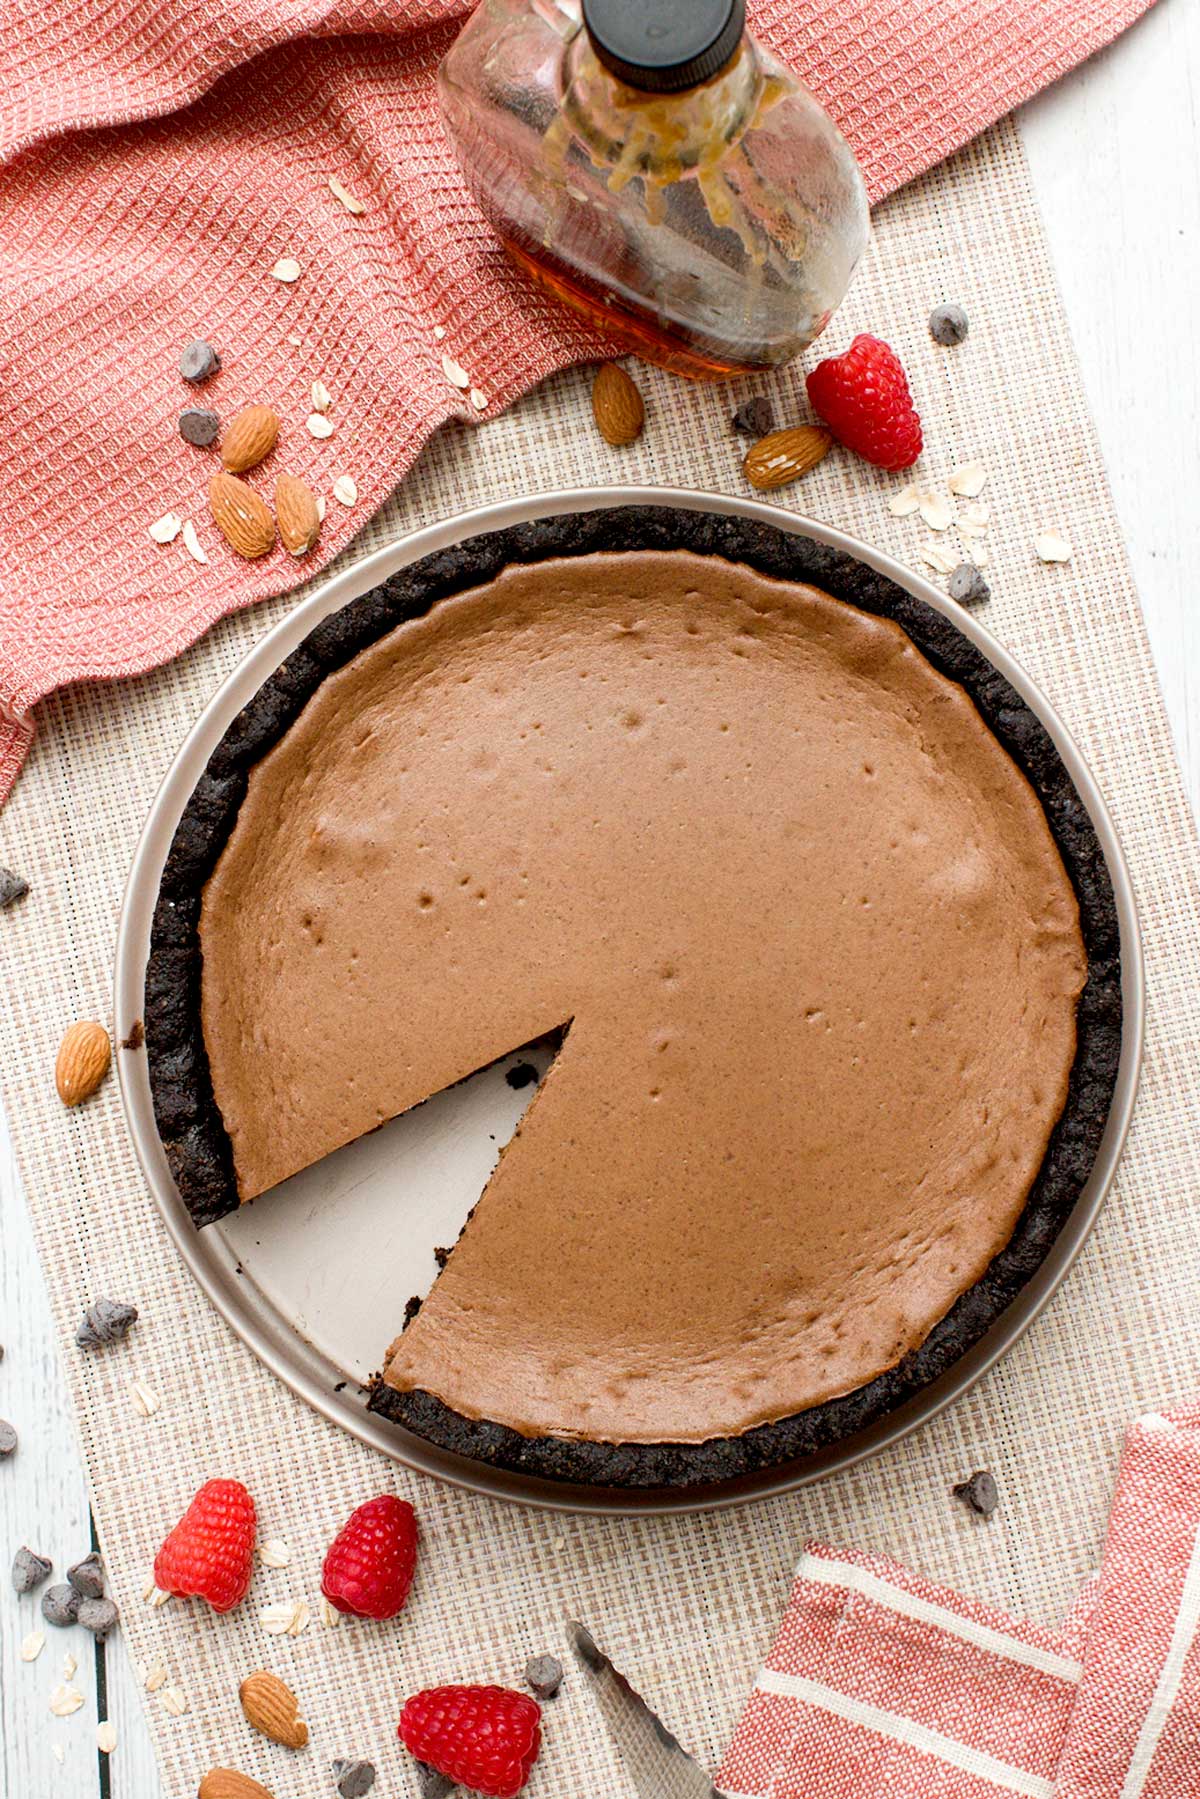
Gluten-Free Chocolate Cheesecake (Cottage Cheese)
|
This gluten-free chocolate cheesecake with cottage cheese is protein-packed, lower in sugar, and full of rich chocolate flavor. Made without cream cheese, with a chocolate-cookie-style crust of oat and almond flour, black cocoa powder, and maple syrup.

If you’ve been looking for a gluten-free chocolate cheesecake that actually tastes amazing and won’t leave you feeling weighed down, this is the one. It’s a high-protein, baked chocolate cheesecake made with cottage cheese, chocolate protein powder, and simple, clean ingredients. No cream cheese, no heavy cream, just a creamy filling that hits the spot with a rich chocolate flavor.
The crust is totally giving chocolate cookie vibes, but it’s made with oat flour, almond flour, maple syrup, and coconut oil. I’ve tested this recipe a bunch of times, and I’m so happy with how it turned out. It’s firm, smooth, not too sweet, and super satisfying. Honestly, it’s one of those desserts that feels like a treat but still supports digestion and leaves you feeling great after. My family loves it, and I love how easy it is to adapt for different allergies or preferences.
Why You’ll Love This Gluten-Free Chocolate Cheesecake Recipe
- Naturally gluten-free and protein-rich: Oat and almond flour crust with chocolate protein powder in the filling.
- Made with real food ingredients: No cream cheese or heavy cream, just cottage cheese and pantry staples.
- Feels good after eating: Lightened-up filling that supports digestion.
- Easy to customize: Flexible ingredients and swaps to fit dairy-free or nut-free diets.
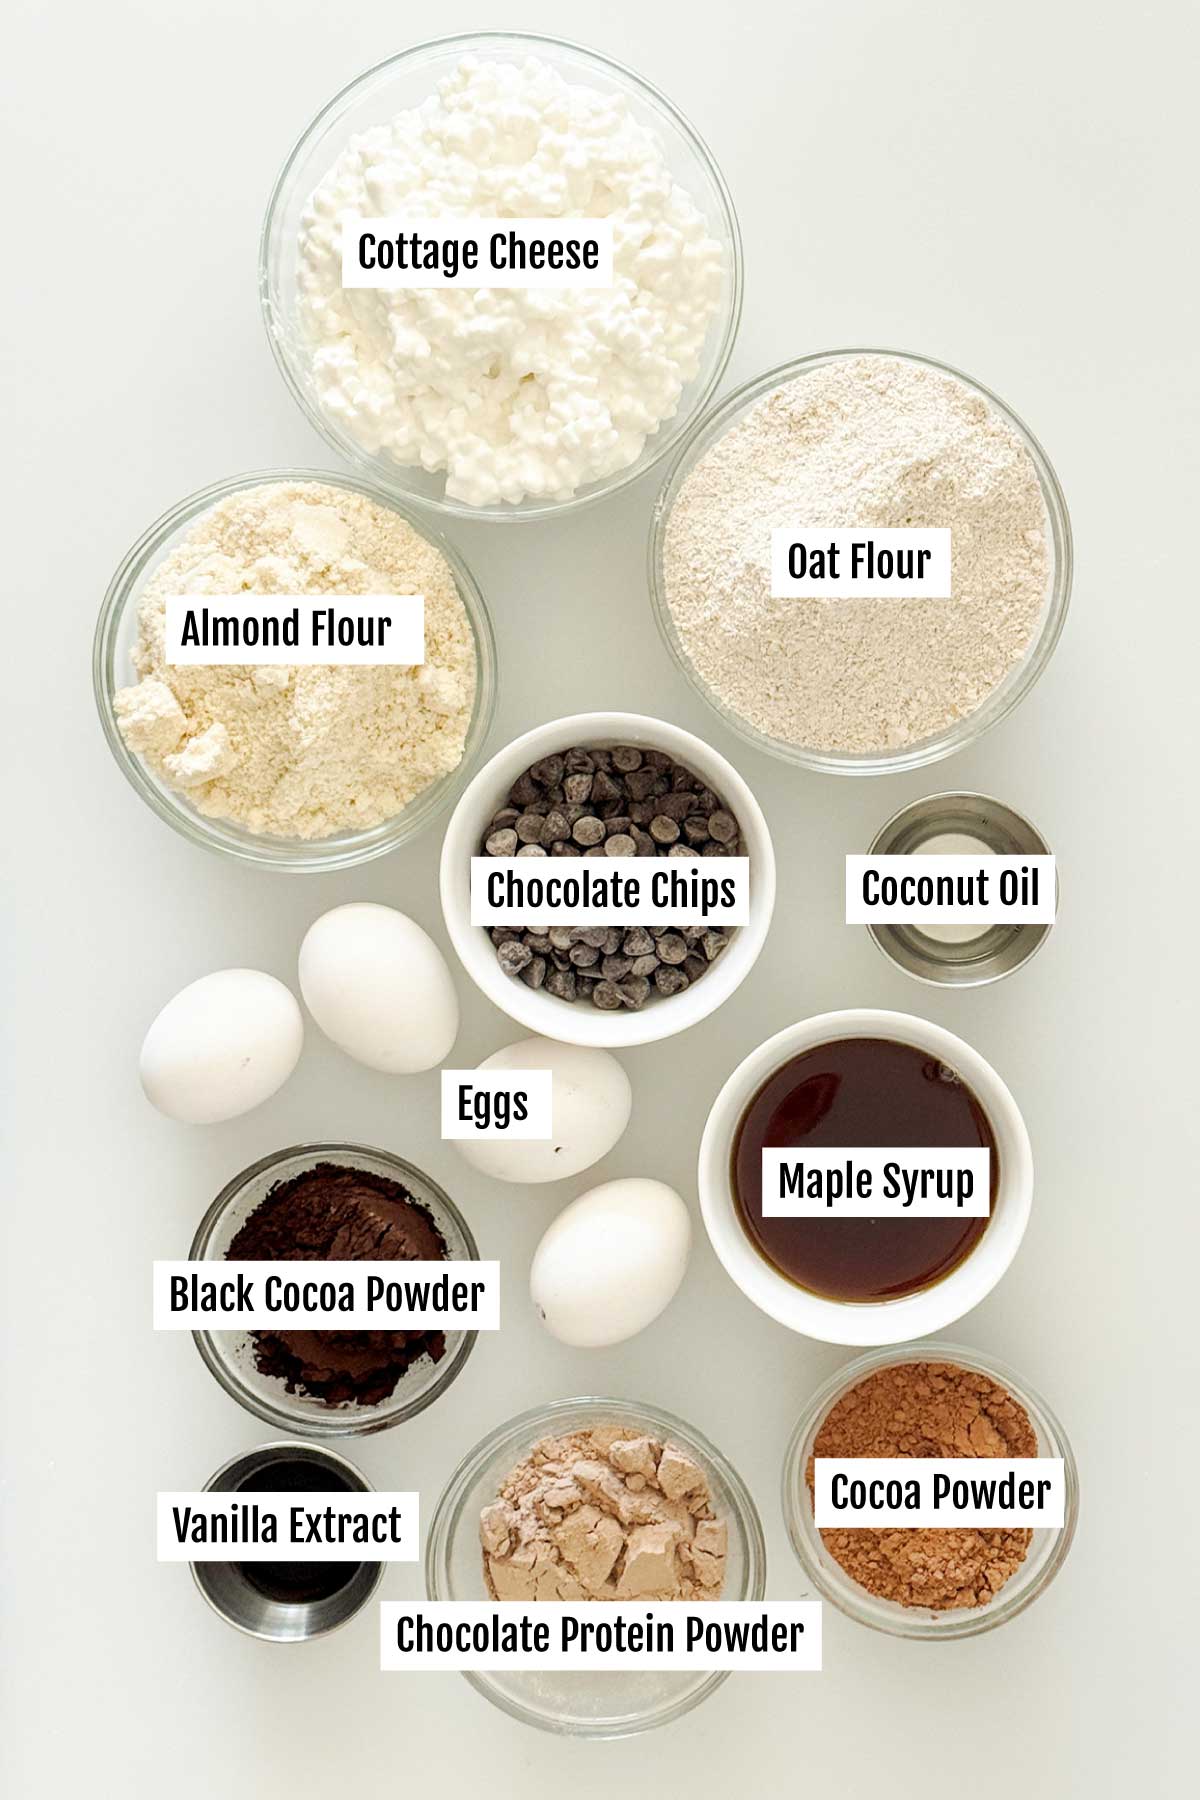
Ingredients & Substitutions
Here is everything you need to make this gluten-free chocolate cheesecake:
- Oat Flour: Forms the base of the crust with a mild, nutty flavor. You can swap with sorghum or gluten-free all-purpose flour.
- Almond Flour: Adds richness and a soft texture. Try sunflower seed flour or more oat flour if you need a nut-free option.
- Black Cocoa Powder: Gives the crust a deep chocolatey color and taste. This is my favorite black cocoa powder that tastes great and is affordably priced. You can use regular cocoa powder instead.
- Maple Syrup: Naturally sweetens both the crust and filling. You can use honey or agave syrup.
- Coconut Oil: Binds the crust while adding healthy fats. Swap with melted butter or avocado oil.
- Salt: Balances the sweetness and enhances flavor. Keep it in!
- Cottage Cheese: Creates a creamy, tangy filling without cream cheese. Use full-fat for best texture.
- Chocolate Chips: Melted into the filling for structure and richness. Use dairy-free chips if needed.
- Chocolate Protein Powder: Adds protein and flavor. You can omit it and replace it with 2 extra tablespoons of cottage cheese and cocoa powder.
- Eggs + Egg Whites: Help bind and set the cheesecake. You can use 3 whole eggs if you prefer.
- Cocoa Powder: Deepens the chocolate flavor. Regular or dark cocoa both work.
- Vanilla Extract: Rounds out the sweetness and adds depth.
- Lemon Juice: Adds a subtle tang to mimic classic cheesecake flavor.
Easily Adapt This Recipe for Any Diet
This recipe is naturally easy to tweak! Follow these simple swaps to make it gluten-free, dairy-free, or vegan while keeping the same great texture and flavor.
- Gluten-Free: Already gluten-free thanks to oat and almond flour.
- Dairy-Free: Use a dairy-free cottage cheese alternative and dairy-free chocolate chips.
- Vegan: Use a plant-based cottage cheese, replace eggs with flax eggs (1 tbsp ground flax + 2.5 tbsp water per egg), and choose vegan chocolate chips.
💡 Pro Tip: If you try a substitution, let us know how it worked in the comments!
How to Make My Gluten-Free Chocolate Cheesecake Recipe
Here are easy, detailed, step-by-step instructions that are also repeated in the recipe card at the bottom of this blog post.
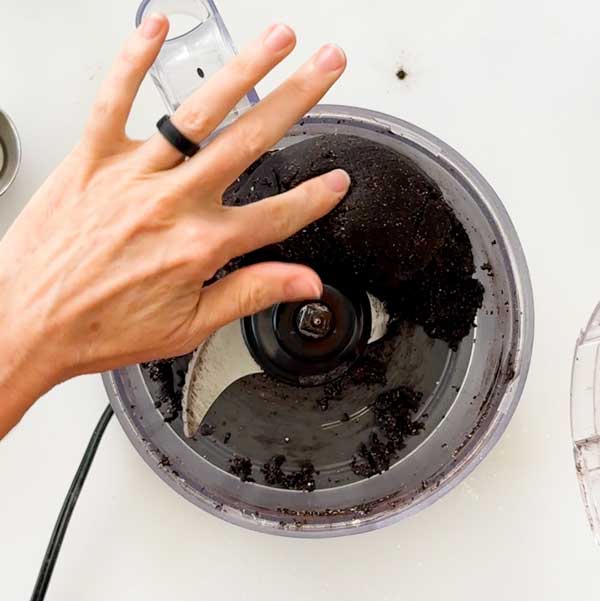
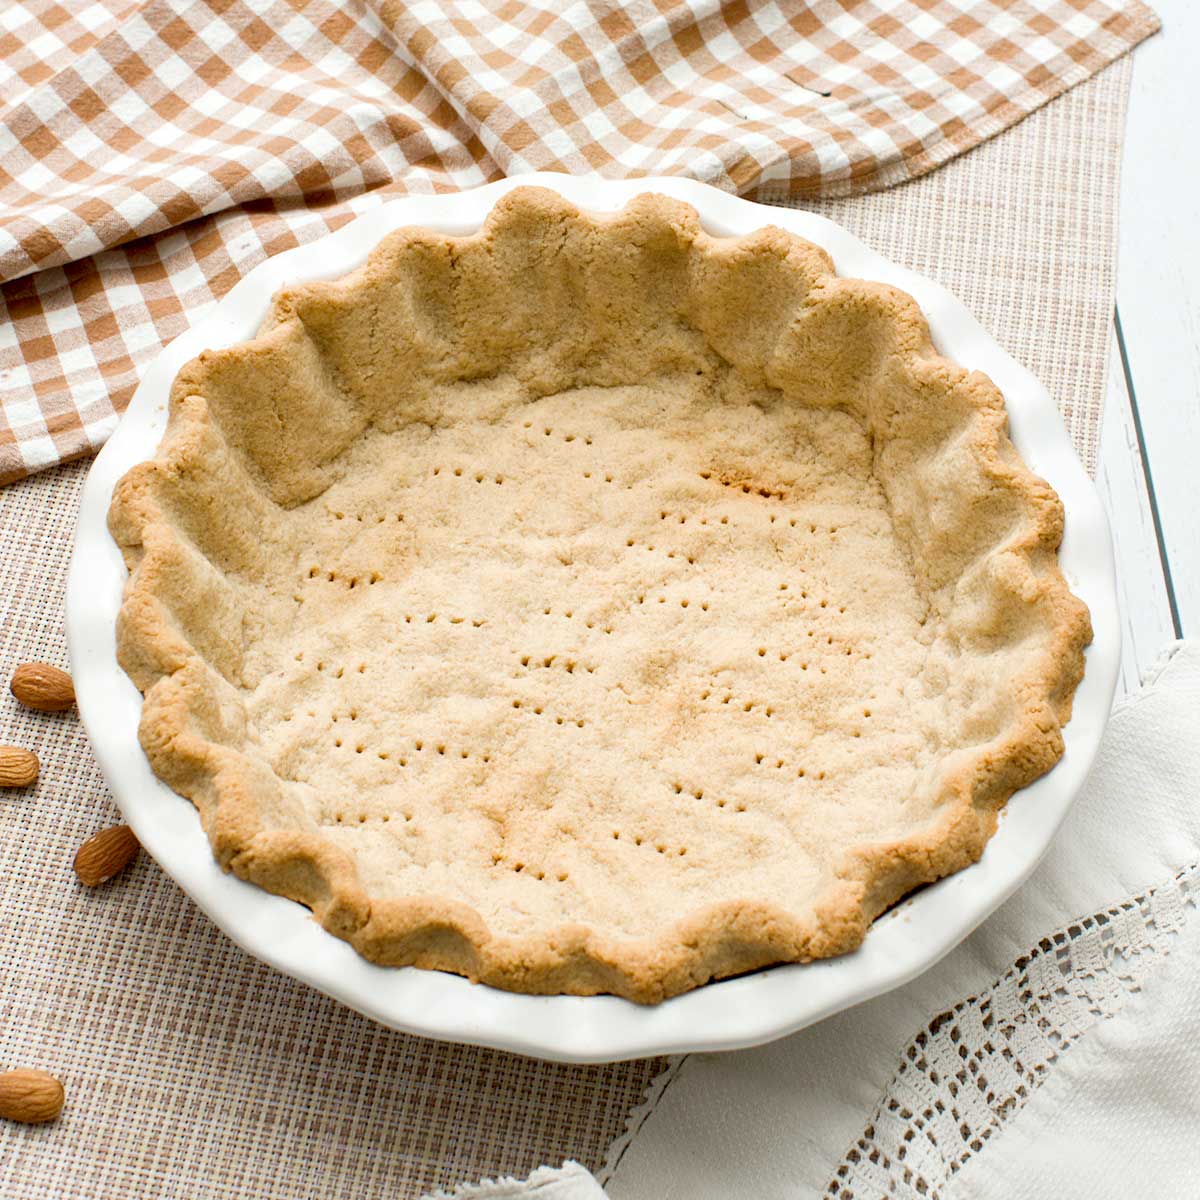
Step 1: Make the Chocolate Crust
Add 1⅓ cups oat flour, 1 cup almond flour, ¼ cup black cocoa powder, ⅓ cup maple syrup, 3 tablespoons coconut oil, and ½ teaspoon salt to a food processor or mixing bowl. Blend until a ball of dough forms. If it’s too crumbly, add a bit more coconut oil; if too wet, add a touch more oat flour.
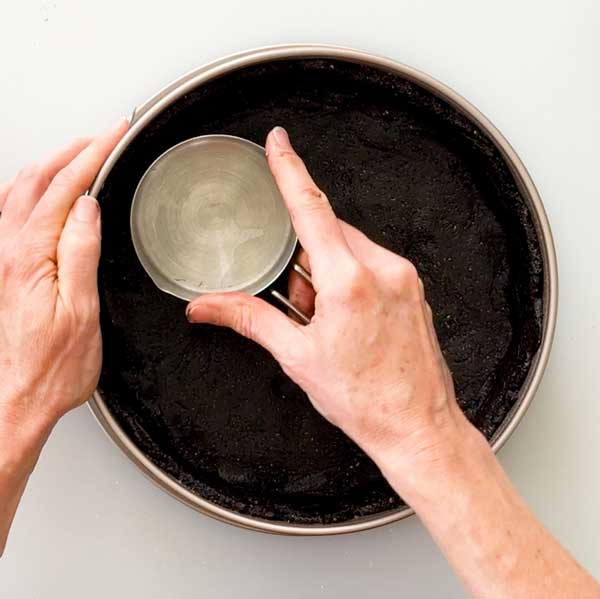
Coat a springform pan with non-stick spray. Press the crust into the bottom and up about 1½ inches on the sides. Use a fork to poke holes in the bottom to help it bake evenly.
Bake at 350°F for 12 minutes. Let it cool slightly.

Step 2: Make the Cheesecake Filling
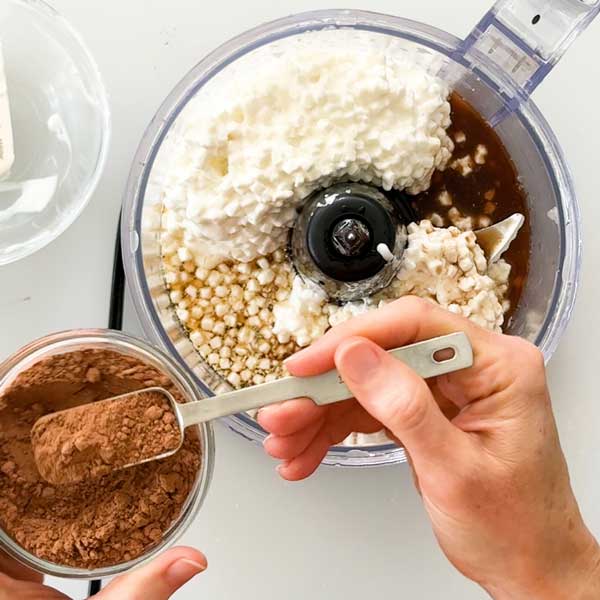
Rinse out the food processor. Add 2 cups cottage cheese, ⅓ cup chocolate protein powder, ⅓ cup maple syrup, 2 tablespoons cocoa powder, 2 teaspoons vanilla extract, 1 teaspoon lemon juice, and ¼ teaspoon salt. Blend until completely smooth.
In a microwave-safe bowl, melt ½ cup chocolate chips in 30-second intervals, stirring in between, until smooth.
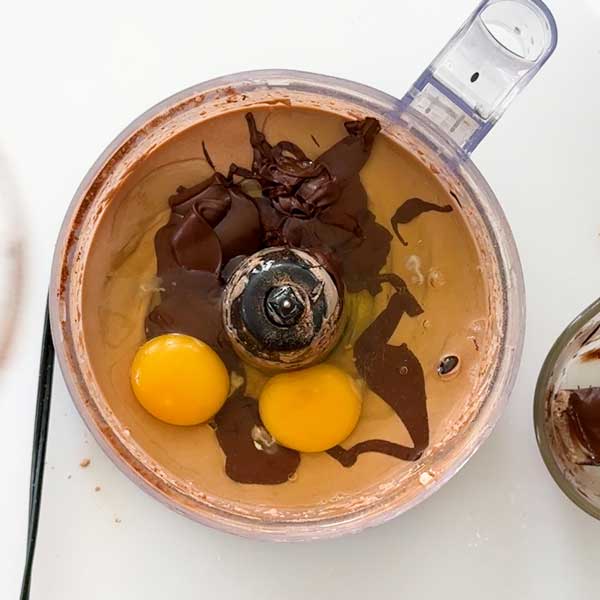
Pour the melted chocolate into the blended cottage cheese mixture. Add 2 eggs and 2 egg whites. Blend just until everything is incorporated.
Step 3: Bake the Cheesecake
Place the springform pan on a baking sheet. Pour the cheesecake filling over the warm crust and smooth the top. Tap the pan gently on the counter to release air bubbles.
Place the sheet in the oven and pour water into the baking sheet to create a water bath that reaches halfway up the sides of the cookie sheet.
Bake at 350°F for 60-70 minutes, until the center is set but slightly jiggly. Remove the cheesecake from the oven and cool on a wire rack. Then carefully remove the water-filled baking sheet.


Step 4: Optional Chocolate Ganache
Melt 1/2 cup of chocolate chips using microwave method. Then stir in 2 tablespoons of milk or heavy cream until smooth. Drizzle over your slice and enjoy!
My Expert Recipe Tips
- Dark brown crust: Using black cocoa powder is the secret to getting a dark brown crust to contrast the medium brown filling.
- Use full-fat cottage cheese: It gives the creamiest texture and the best flavor.
- Don’t overmix after adding eggs: This helps avoid cracks in your cheesecake.
- Let it cool completely: Cheesecake sets as it cools, so don’t rush the process.
- Chill before slicing: At least 4 hours in the fridge gives clean, firm slices.
Delicious Serving Suggestions
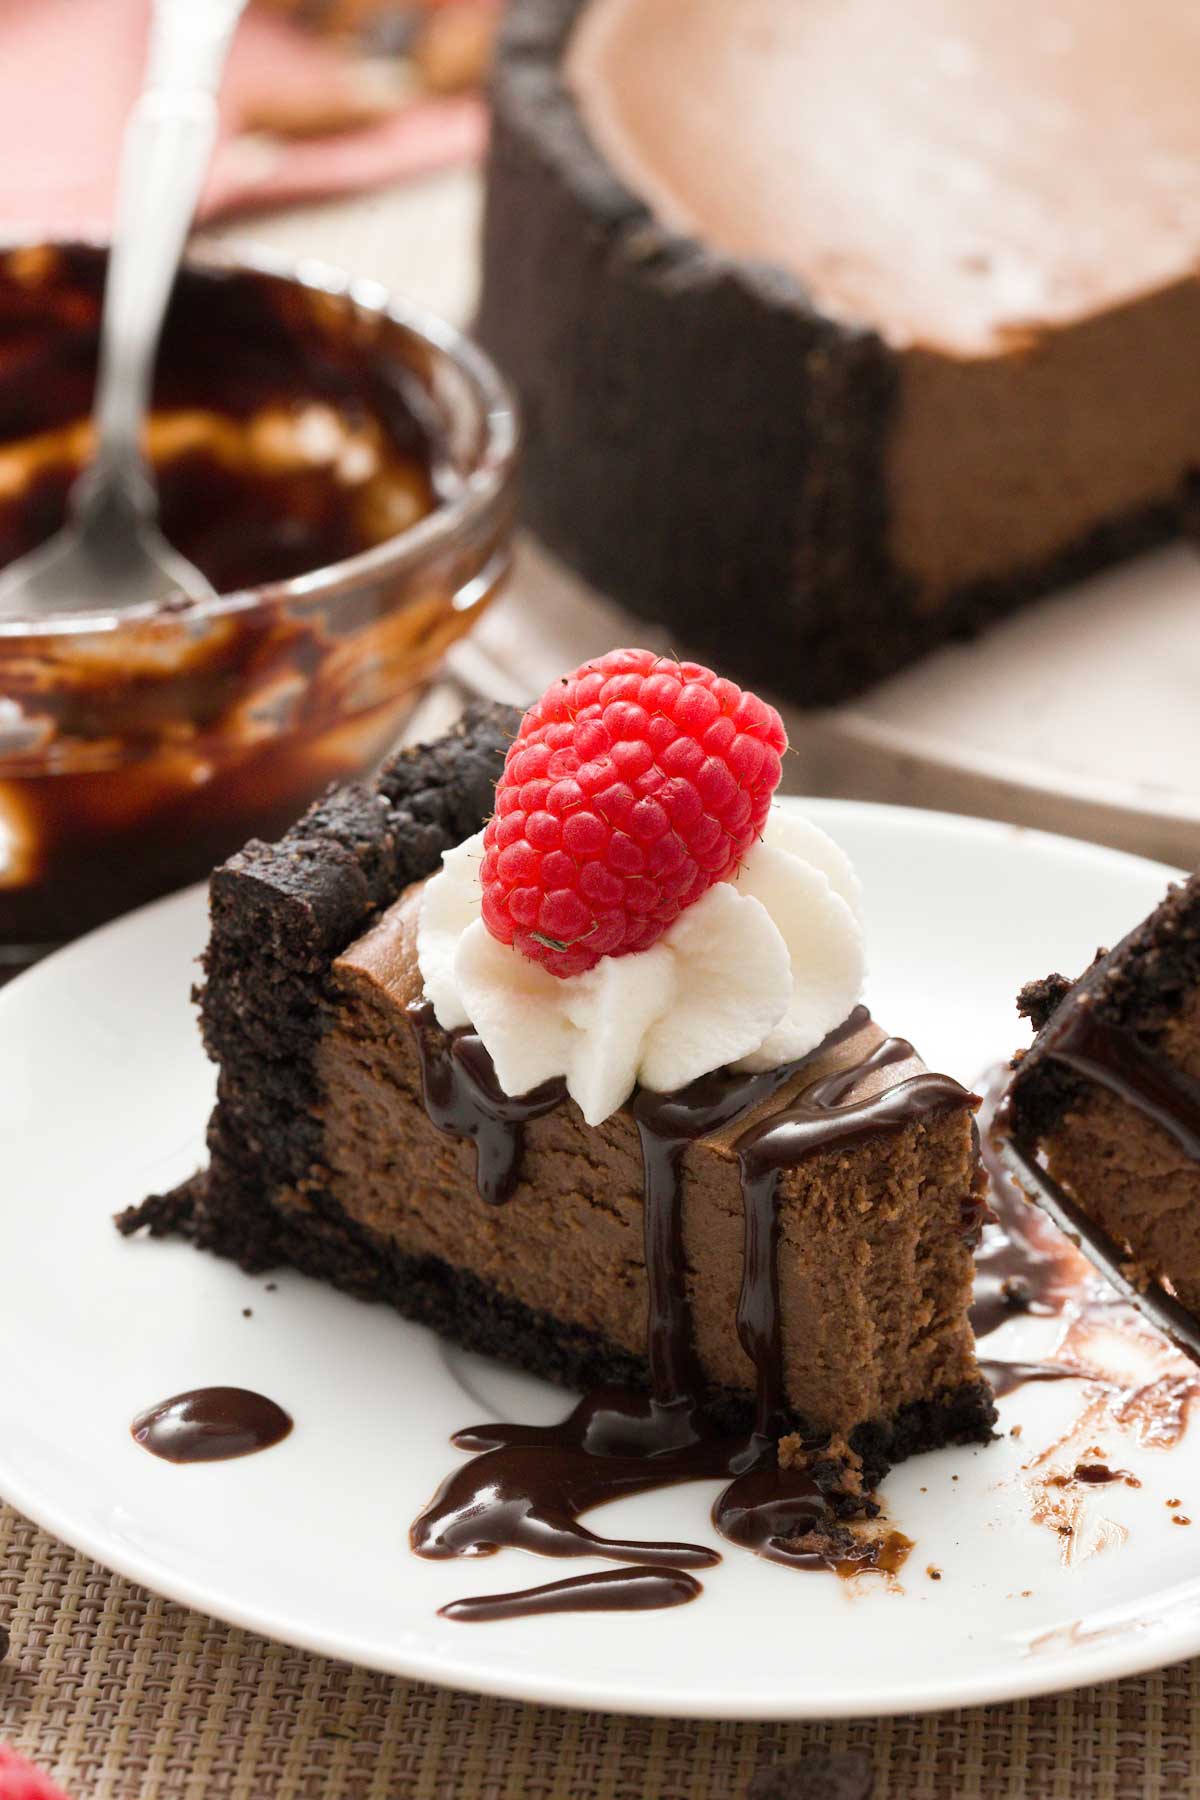
- Top with fresh berries: Strawberries or raspberries add a bright contrast.
- Drizzle with melted chocolate: For an extra chocolatey finish.
- Serve with coconut whipped cream: Keeps it dairy-free and light.
- Add a sprinkle of flaky sea salt: Enhances the chocolate flavor.
Frequently Asked Questions
Do you love cheesecake? Check out more of my easy and healthier cheesecake recipes:

Gluten-Free Chocolate Cheesecake (Cottage Cheese)
Ingredients
Chocolate Crust:
- 1-1/3 cups oat flour
- 1 cup almond flour
- 1/4 cup cocao powder (black)
- 1/2 cup maple syrup
- 3 tablespoons coconut oil
- 1/2 teaspoon salt
Cheesecake Filling:
- 2 cups cottage cheese
- 1/2 cup chocolate chips
- 1/3 cup chocolate protein powder
- 1/3 cup maple syrup
- 2 eggs
- 2 egg whites
- 2 tablespoons cocoa powder
- 2 teaspoons vanilla extract
- 1 teaspoon lemon juice
- 1/4 teaspoon salt
Instructions
- Add 1⅓ cups oat flour, 1 cup almond flour, ¼ cup black cocoa powder, ½ cup maple syrup, 3 tablespoons coconut oil, and ½ teaspoon salt to a food processor or mixing bowl. Blend until a ball of dough forms. If it's too crumbly, add a bit more coconut oil; if too wet, add a touch more oat flour.
- Coat a springform pan with non-stick spray. Press the crust into the bottom and up about 1½ inches on the sides. Use a fork to poke holes in the bottom to help it bake evenly. Bake at 350°F for 12 minutes. Let it cool slightly.
- Rinse out the food processor. Add 2 cups cottage cheese, ⅓ cup chocolate protein powder, ⅓ cup maple syrup, 2 tablespoons cocoa powder, 2 teaspoons vanilla extract, 1 teaspoon lemon juice, and ¼ teaspoon salt. Blend until completely smooth.In a microwave-safe bowl, melt ½ cup chocolate chips in 30-second intervals, stirring in between, until smooth.Pour the melted chocolate into the blended cottage cheese mixture. Add 2 eggs and 2 egg whites. Blend just until everything is incorporated.
- Place the springform pan on a baking sheet. Pour the cheesecake filling over the warm crust and smooth the top. Tap the pan gently on the counter to release air bubbles.Place the sheet in the oven and pour water into the baking sheet to create a water bath that reaches halfway up the sides of the cookie sheet.Bake at 350°F for 60-70 minutes, until the center is set but slightly jiggly. Remove the cheesecake from the oven and cool on a wire rack. Then carefully remove the water-filled baking sheet.
- Melt 1/2 cup of chocolate chips using microwave method. Then stir in 2 tablespoons of milk or heavy cream until smooth. Drizzle over your slice and enjoy!
Video
Notes
Nutrition
Important Disclaimer
This recipe is created by a home cook and not a medical professional. Our ingredient philosophy is reviewed by RDNs, but this specific post is not personalized medical advice. Please consult your healthcare provider for dietary concerns.
Looking for more ways to cook and bake with cottage cheese?
Browse all of my cottage cheese recipes, including breakfasts, desserts, sauces, snacks, and savory meals.
Looking for more desserts made without refined sugar?
Browse all of my naturally sweetened dessert recipes, made with maple syrup, honey, fruit, and other simple sweeteners for treats that feel familiar and satisfying.

This delicious recipe is the first of it’s kind and I’m excited to share it with you!! Please let me know in the comments how it turns out 🙂